New Mexico Cooking Lessons: Chile Rellenos

I failed miserably at making chile rellenos last winter. While I had been cooking up a storm of dishes IMG 2742I had learned when I lived in New Mexico to treat my suburban Chicago neighbors, the time that I made chile rellenos I missed a major step: beating the egg whites until they are fluffy. I'm not sure if the recipe I used even said to to do that. I simply dredged them in flour and then soaked them in beaten eggs. But after I moved back to Albuquerque my friend Veronica came to the rescue when she told me it's a dish she sometimes make, one that she learned in her native Mexico.

We spent Saturday afternoon creating the steps below (complete with a short video!) of how to make chile rellenos so you can avoid the embarrassment I endured several months ago.

For this dish Veronica used:

  • 15 green chiles (they are more easily found throughout the country and not just in New Mexico anymore)
  • 10 eggs
  • 1 pound of mozzerella cheese
  • oil for cooking
IMG_2745-02.jpg

The chiles should be roasted on the grill or on a gas stove to remove the skins. Be careful not to IMG 2745touch your eye or any other sensitive part of the body during this process as the seeds are hot! After roasting, I run my chiles under cold water to remove the skins but Veronica slathers them in oil for the same outcome.

Once the chiles are cleaned, she put a small slice in them and slid a piece of cheese inside the chile. IMG 2748At this time, the tops of the chiles could be removed as well; the seeds can be hot for those you not used to this type of cooking!

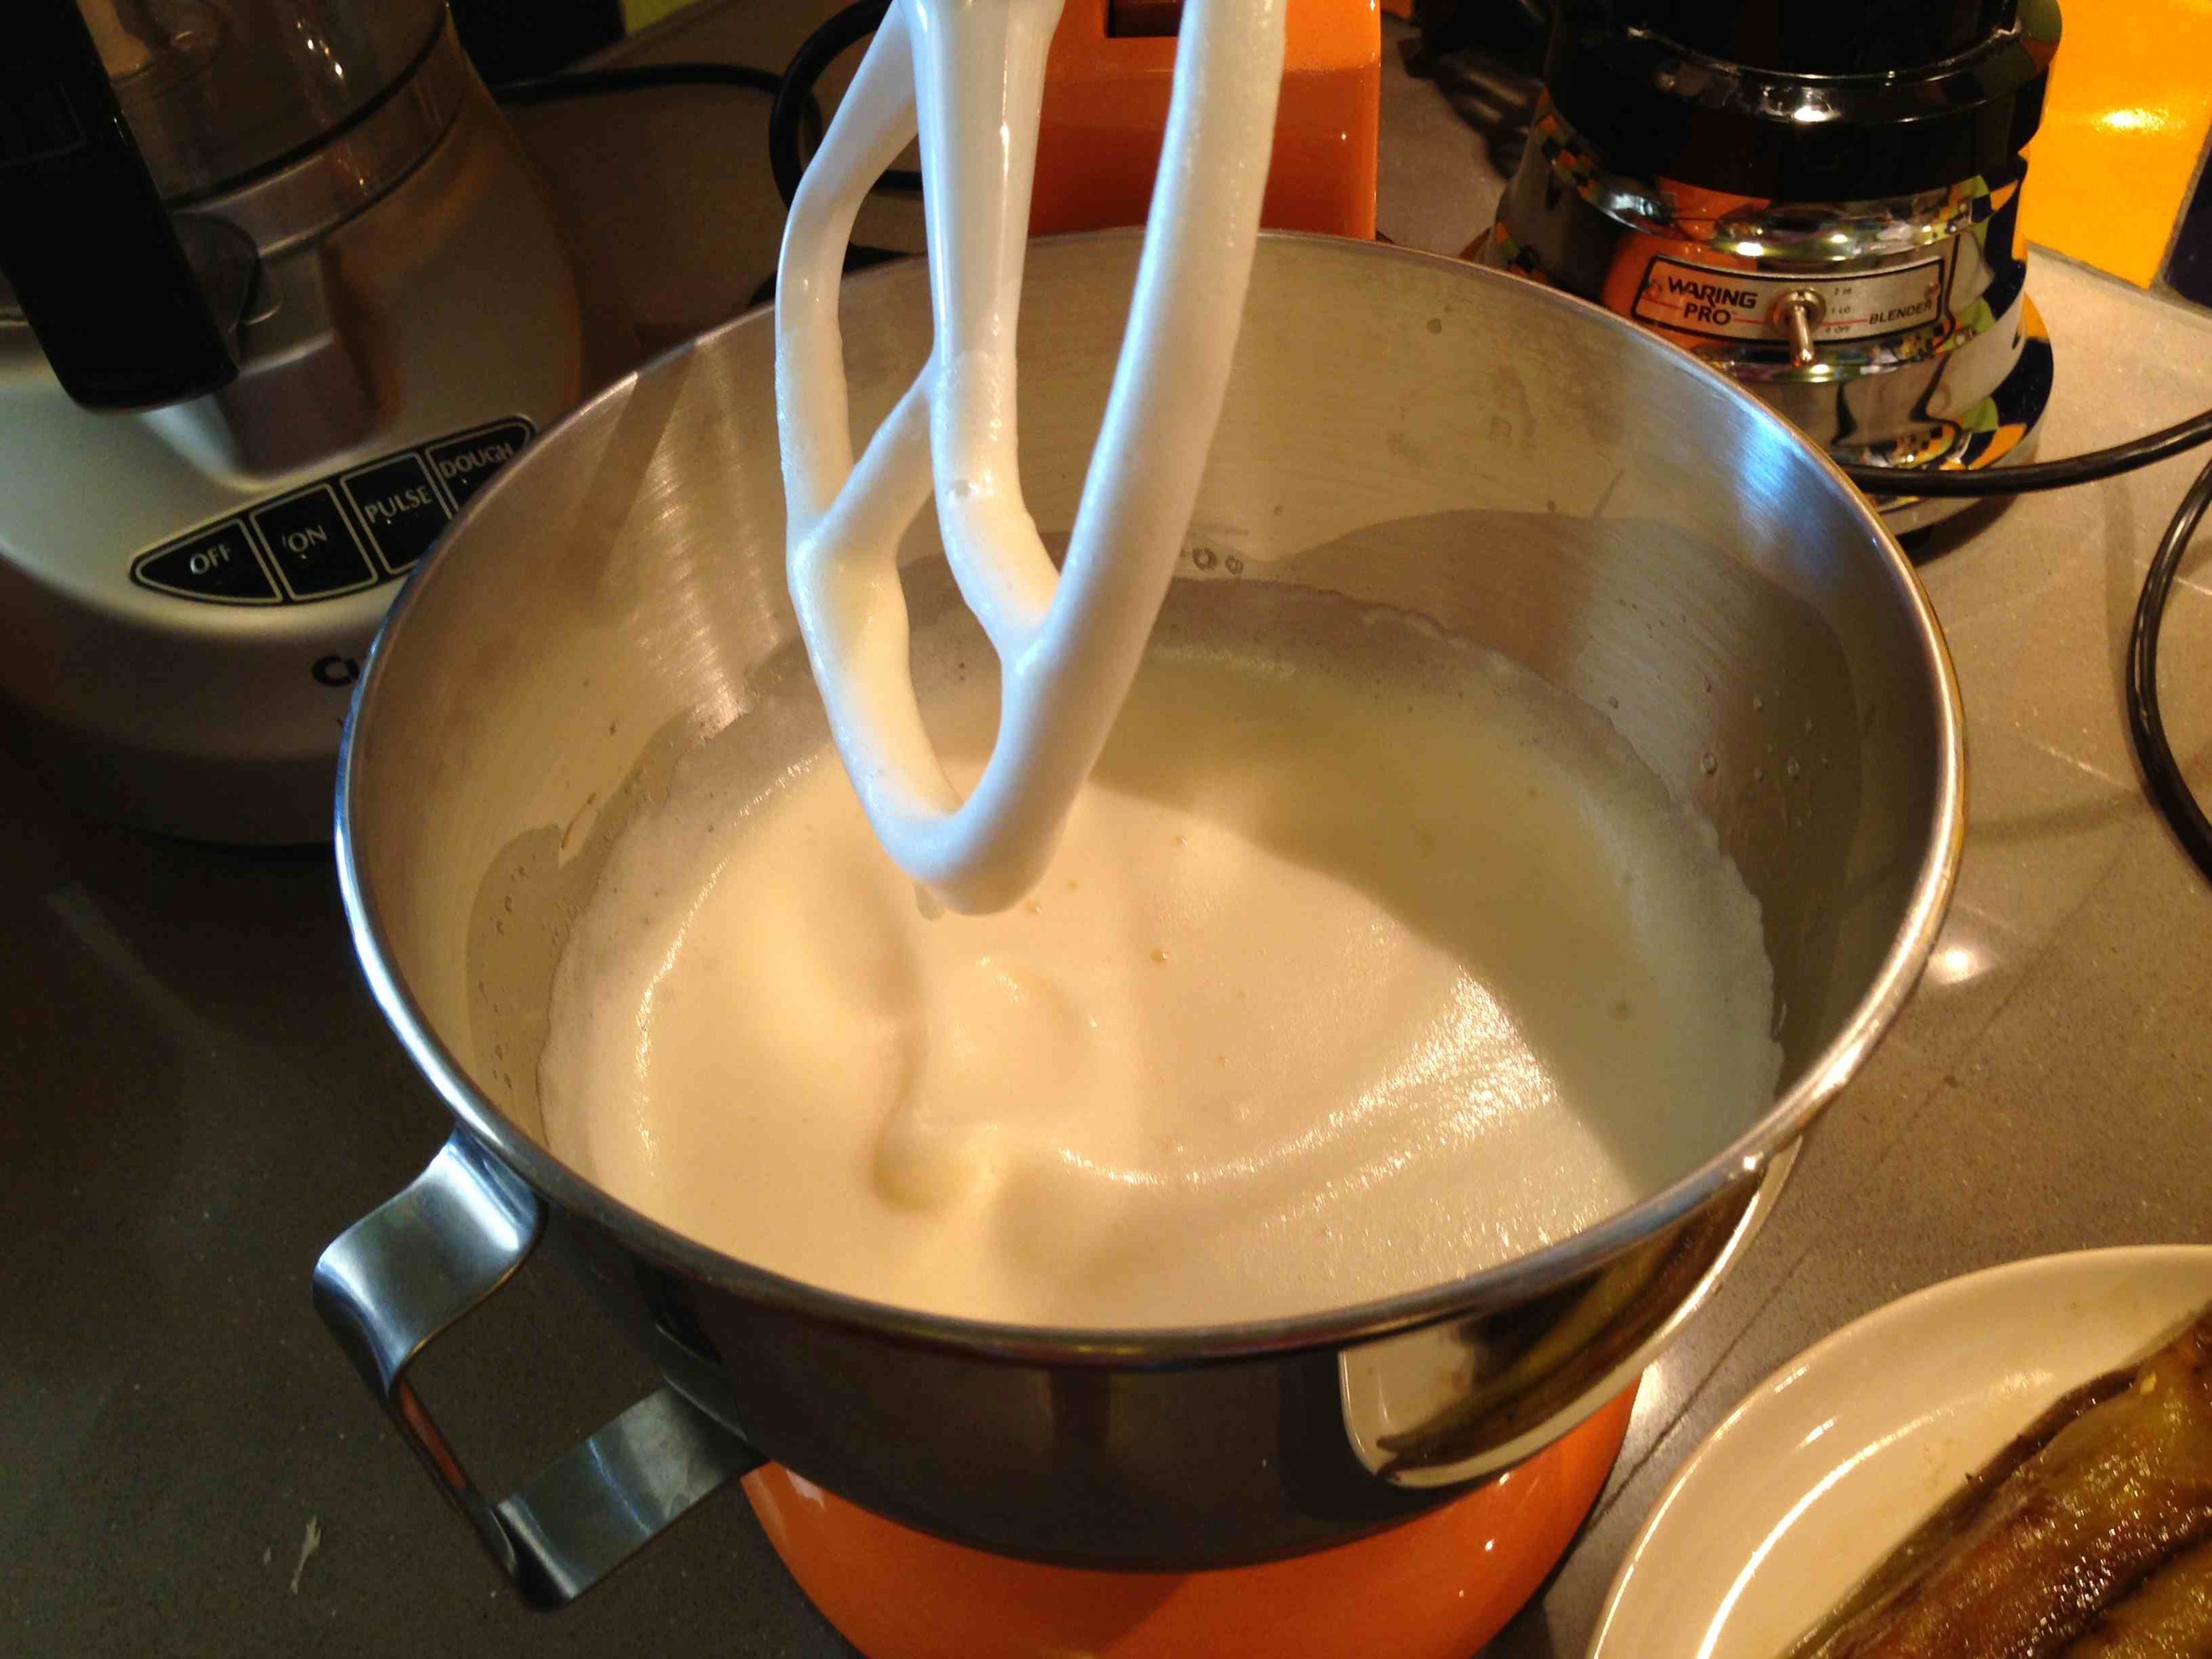
The key step (the one that I missed) came next. She mixed ten egg whites until they were fluffy, at the end adding back two yolks for color.

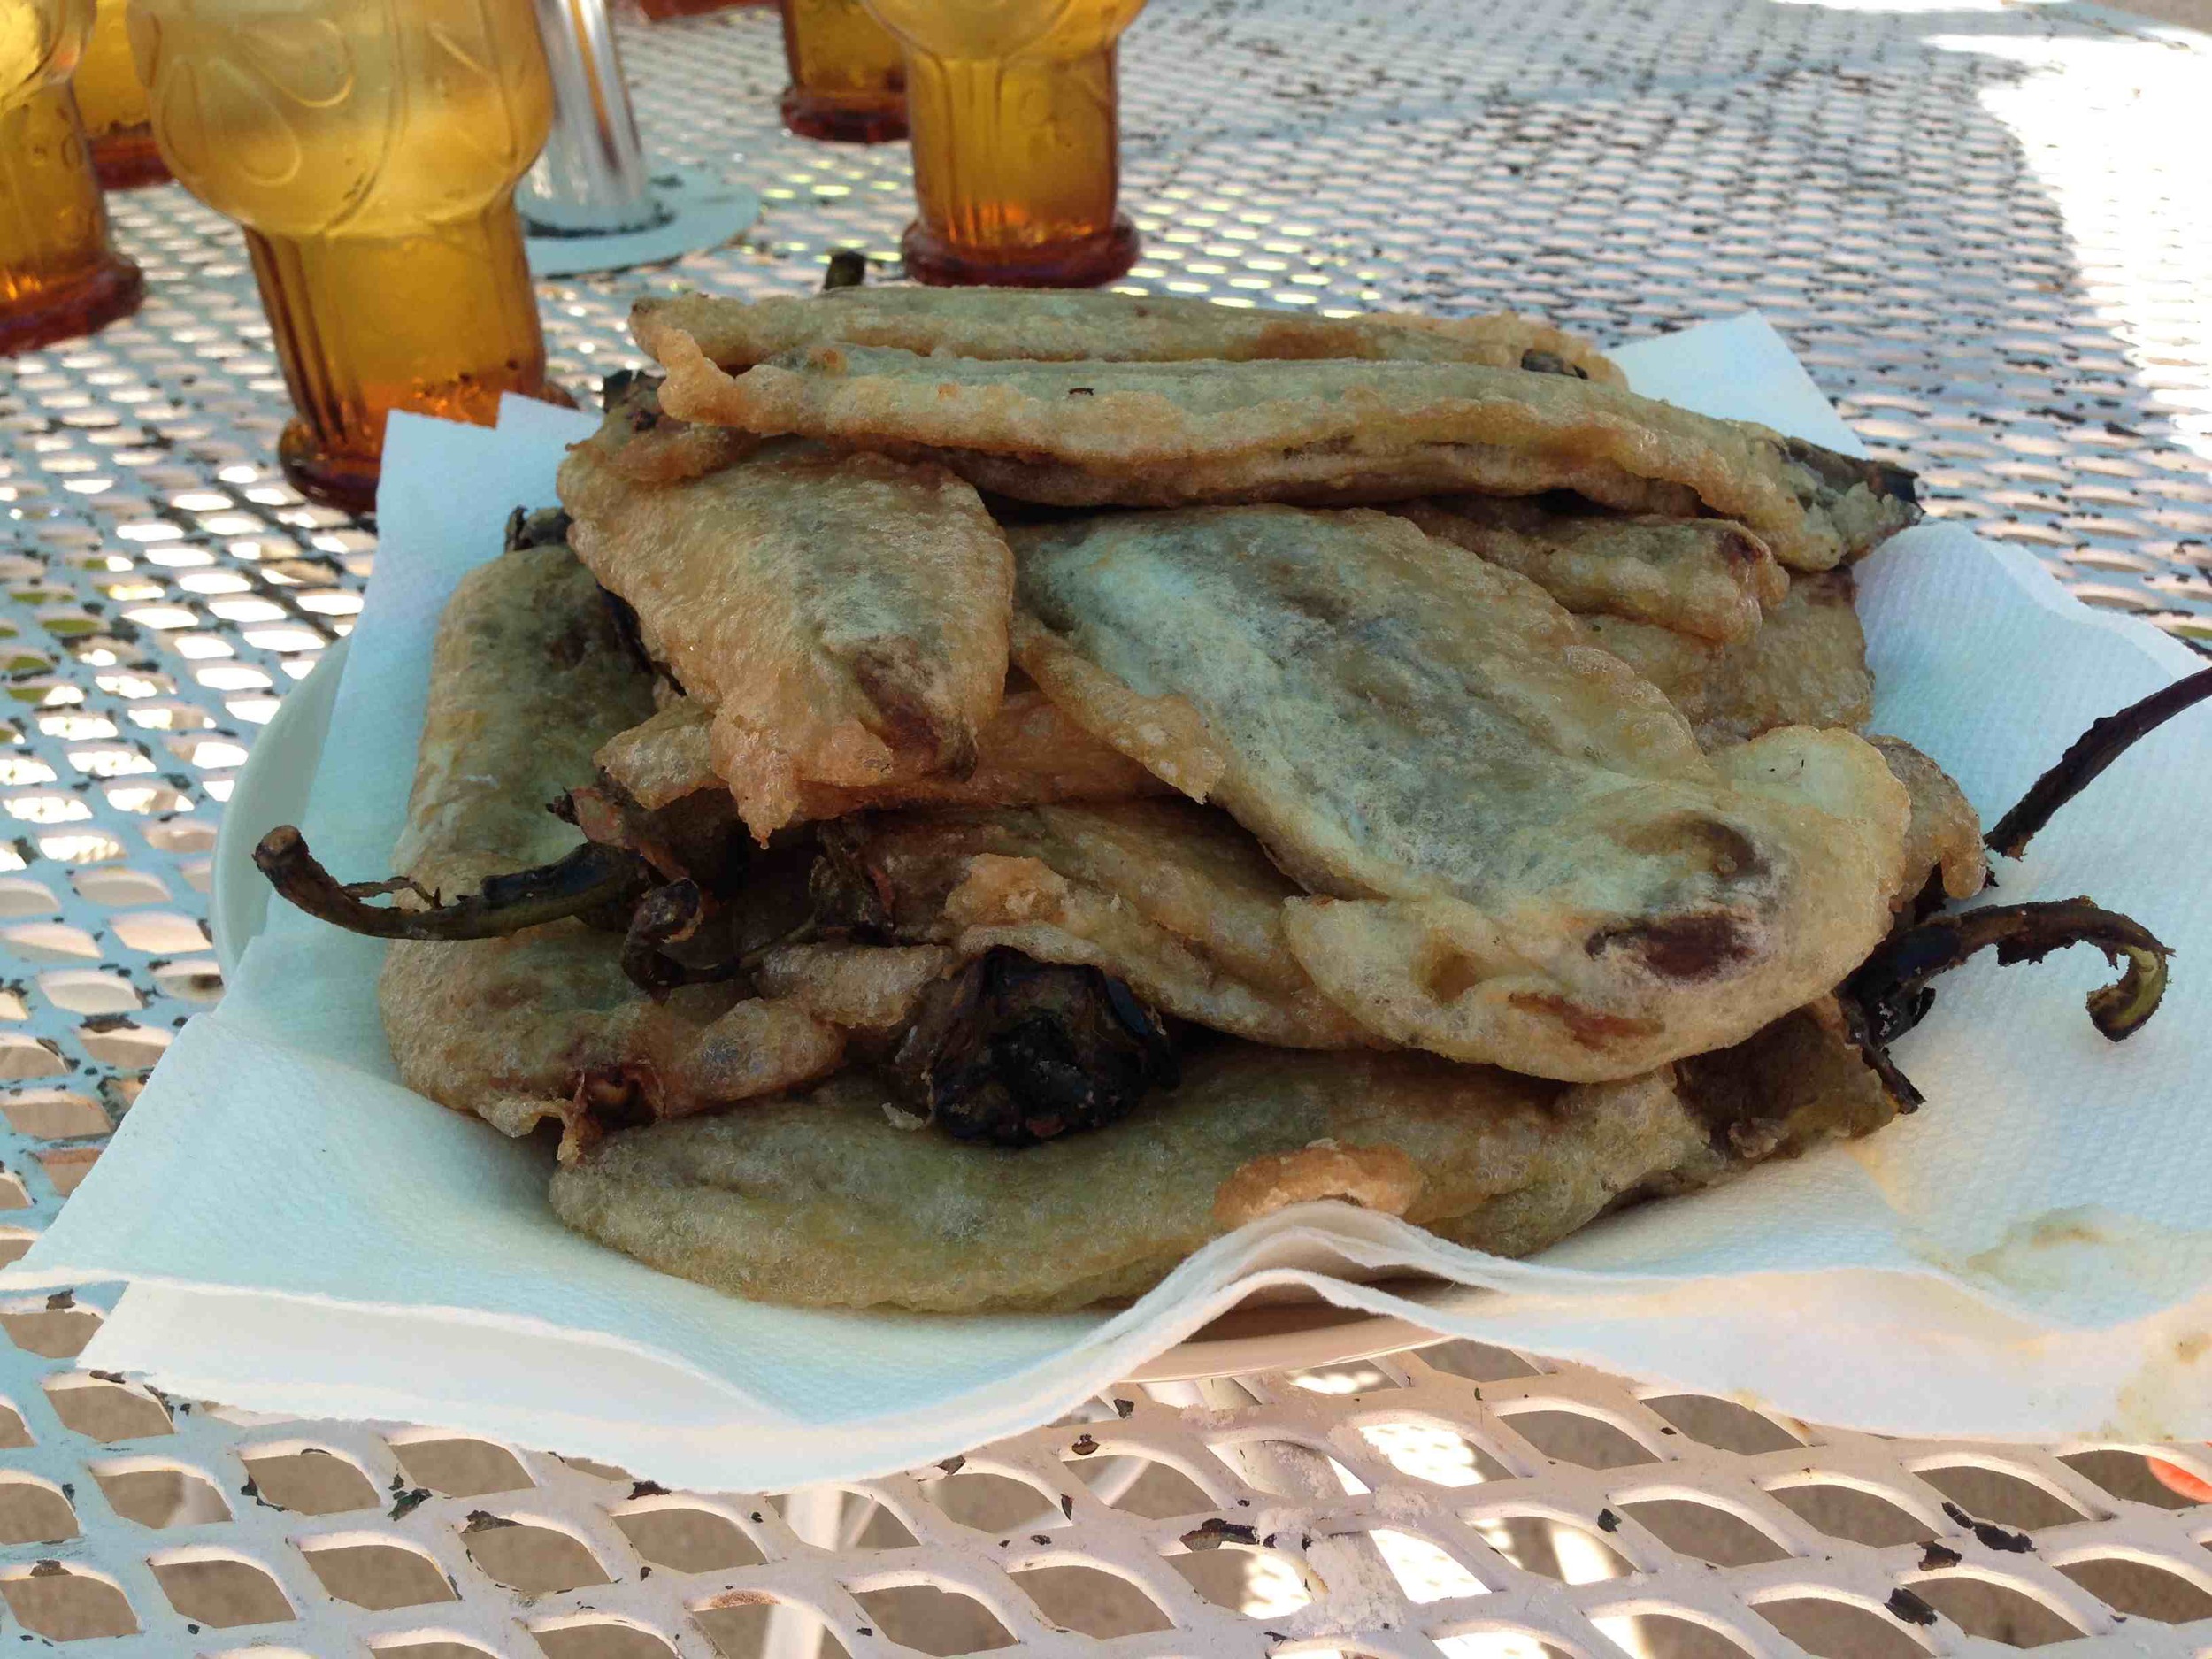
With the chiles stuffed, we moved outside where I placed a cast iron pan filled with oil (she chose olive oil) on the gas burner and heated it. Veronica had filled a plate with flour and she first dredged the chiles and then soaked them in the egg mixture before taking them to the grill. You must move quickly in this process before the egg mixture disintegrates. See the video for more instruction. The oil should be hot and the chiles covered as completely as possible. Fry them until they are brown, just a few minutes on each side and serve with a chile sauce or salsa. The salsa shown in the finished dish is sauteed onions, garlic, chipotle peppers, and tomato sauce.


Merging Food with Our Holistic Selves

We can’t separate food from ourselves because it’s tied to our existence on multiple levels.
Often we forget that for us to be a complete person we have to be balanced and we need to nourish our physical, emotional, and spiritual selves. We can’t just set goals for one aspect because it will throw the balance off. If we want to lose weight, then we need to make sure we are doing something emotionally and spiritually as well.

It’s easy to think, oh, I’ll just lose some weight and everything will be well. What we aren’t realizing is that some of our weight gain might be related to emotional issues. Maybe we are an emotional eater and when we get upset, we eat. Or maybe we haven’t cared about what we look like so we also don’t care about what we eat. Only will we make headway into losing weight and keeping it off if we make sure to set an emotional goal to understand why we do a certain behavior and then work at changing it.

And it’s not much different with our spirituality, something many people neglect. By taking some time each morning to prayer or meditate, we are setting ourselves up to cope better with the day ahead. We also are putting our bodies in a strong place so whatever the day brings bounces off us. We can’t control what happens to us but we can control our actions.
In the process of setting these goals, we also realize we must give our body the best nutrition possible. It’s not easy as life is busy but I also don’t believe anyone should deprive themselves of anything unless it’s a life or death matter. Have that occasional ice cream cone but don’t eat a half gallon of it every night. Eat pizza sometimes. Enjoy an evening of dinner out with friends.

As you work toward your goals, you’ll see you feel better when you eat better. You’ll want to eat better because it gives you more energy to have the productive day you yearn for and you’ll feel the changes in your body as the foods you give it leave you feeling satisfied and energetic, not lethargic or empty.

The first step is wanting to make change in your life and that’s what brought you here. Don’t stop now. Life is too short to give up on an opportunity to be happier and more hopeful.


Paper Bag Pizza

My mom began making pizzas on paper bags when we were growing up although she isn't sure where she got the idea. She thinks maybe she read it somewhere. And despite what anyone thinks, the bags don't burn. In fact, they create a very tasty crispy crust.

IMG_3312.jpg

Mom used the Chef Boyardee pizza mixes and there was no cooking spray yet so she would rub the cut paper bag with margarine. When I began making pizza using the recipe below (out of the Naper School cookbook- Mrs. Hall's recipe), I tried using a metal pan but I found the crust wasn't as crispy, thus I went back to the paper bags.

I honed my pizza-making skills at Oodles Pizza in Naperville on Ogden the summer after my freshman year of high school for $3.35 an hour and I've been making pizza since. The only problem now is that paper bags are made much smaller and my friend Jim's mom suggested using some of the sides of the bags to make the pizzas larger. I also spray my hands with cooking spray and use my hands to form the pizzas rather than roll them out. I have tried to used wheat flour with this recipe but because it's more dry than white, it's best to mix the two flours together.

Paper Bag Pizza

  • 2 c. flour
  • 1 1/2 tsp. salt
  • 1 1/2 tsp. sugar
  • 1 pkg. dry yeast (approximately 1 1/2 Tbsp.)
  • 1 1/2 c. lukewarm water
  • 2 1/2 Tbsp. vegetable oil
  • 2 c. flour

Mix flour (2 c.), salt, sugar, and yeast together. Add water and oil. Beat mixture until just blended with electric mixer. Stir in 2 c. more of flour. Form into ball, let rest for five minutes. Cut in half and roll out in flour for 2 pizza crusts.

Placed on greased paper bags and add your favorite sauce and toppings. Bake approximately 15 to 20 minutes in a 425-degree oven. I let the pizzas sit for a few minutes after coming out of the oven on a cooling rack before I use a spatula/turner to separate the pizza from the paper bag and cut it. Doing this helps the pizza crisp up.

Bon appetit!