
Mom's Stuffed Peppers

Growing up, I thought we were the only family who ate dishes like tuna casserole and stuffed peppers. And gush, too- goulash to everyone outside of our family. But I have come to find many of the dishes that we ate, most everyone else, particularly those who lived in the Midwest, ate them, too.
I made my mom’s stuffed bell peppers yesterday. I looked online and there are many other recipes just the same but I’m sharing it anyway (with a few modications). I have plans to change up the recipe; I’ve seen a variety of ways to update it like using quinoa instead of rice. However, yesterday I thought it would be best if I simply cooked it mostly as Mom did with one exception: I used the crock pot.
Try it, add some salsa or green chile if it’s too bland (my mom loved onions and spices, my dad was the bland one). But what I realized is that it’s an easy, filling meal you can make any time.
I also diced up six potatoes and dumped them into a bowl, mixing in several tablespoons of oil and added salt/pepper before baking them for about an hour at 425 degrees, turning out crispy baked potato bites.
Mom’s Stuff Peppers (with a few modications from me)
1 ½ pounds ground beef, the lower the fat content, the better
3 gloves garlic, chopped
1 onion, chopped
1 cup cooked rice
salt and pepper
1 can condensed tomato soup
4 – 6 bell peppers with the tops cup off and the seeds removed
Saute the onion and garlic until it’s somewhat “glassy.” Mix the rice, onion, garlic, salt, pepper, and uncooked meat. Fill the peppers and stand them on end in the crock pot (mine fit five). Dilute the soup with ½ can of water, then pour the mixture over the peppers. Simmer for at least six hours over medium heat. Spoon and drizzle the liquid over the peppers occasionally as they cook. Dish is ready when the peppers are tender.
The Complexity of Recipe Writing

A number of years ago I worked on a fundraiser cookbook for a national grief organization. My job was to edit a slew of recipes but my own recipe– my mom's danish puff– was edited and I can still remember when the main editor came back to me and said I needed specific amounts for the icing, a powdered sugar and milk combination.
"You have to remember not everyone is comfortable cooking," I can still remember she wrote.
That was a good lesson for today when I am writing and rewriting recipes. Right now I'm sitting on a number of them that I haven't posted because I have go back and check the amounts. Or many times I have used a recipe I've found online but I made changes to it and I can't post it until I spend a little time getting the ingredients and their amounts right. Then there are the times I combine several recipes (like the recent pumpkin cheesecake) and I need to put them all together.
I rely on Martha Stewart recipes quite a bit because they are usually well written and tested well. I often find that other recipes (Emeril is one example) don't have the quality behind them and they don't work as well. I also recently had a problem with chocolate-covered Katie: while I had tried some of hers in the past, the pumpkin bread both times wouldn't bake. I realized the problem might be that she doesn't live at altitude and when I questioned her about it via Facebook, of course she had no idea about high altitude baking.
While altitude doesn't affect everything, I am always aware when I bake that whatever I'm making might not work out because I live at 5,000 feet. And then she didn't offer to have anything tested. While that cookbook is on my counter right now, it's going to find its way back up to the top shelf of cookbooks soon.
But Martha also disappointed me recently. When I used one of her recipes to make the chocolate cake in the LeCreuset dutch oven (and this is the reason I haven't posted the recipe yet– because I have to do redo it), the ingredients are all out of order. And in the age of anyone posting anything they want on the internet, there is more and more of this. Having everything in order on the list ensures we won't forget something. That's how the sugar got left out the first time (although I added it in before it went to the oven and it worked out okay). However, that can be enough to ruin a recipe and the item created from it.
It's taking me a while to get the recipes online but it's because I'm trying to make sure they are in the best place they can be: edited, tested, and retested. In the long run, you'll thank me.
The Prickly Pear Syrup

This weekend I was hosting a party for my latest book (Flowers by Day, Stars by Night: Finding Happiness after Loss and Change) at the home of friends in my hometown. I thought it was a good opportunity to share some New Mexico so I brought along the last bag of frozen prickly pear puree from last year's harvest.
However, the morning of the party, I realized that I needed to turn it into syrup. And then I realized I didn't have the recipe. No problem, I thought, pulling up this web site only to realize that while I had promised to put the syrup recipe here, I never did. And obviously no one is reading the blog because no one noticed!
Thankfully, I texted Greg and he took a photo of the main recipe I use from The Prickly Pear Coobkook by Carolyn Niethammer and I set to work.
I generally double the recipe for the syrup because I'm usually serving it for a party. And I let it sit on the stove, under a cold burner, after it's done cooking, to give it more flavor.
The syrup is great for punch (as I've written about before) and can be mixed with a seltzer for a fizzy drink.
Prickly Bear Syrup
1 cup prickly pear puree
1 lemon, juiced
1 1/2 sugar
Combine all ingredients and stir until the sugar has dissolved. Slowly bring to a simmer and cook for about 15 minutes, until the syrup begins to thicker. Let cool.
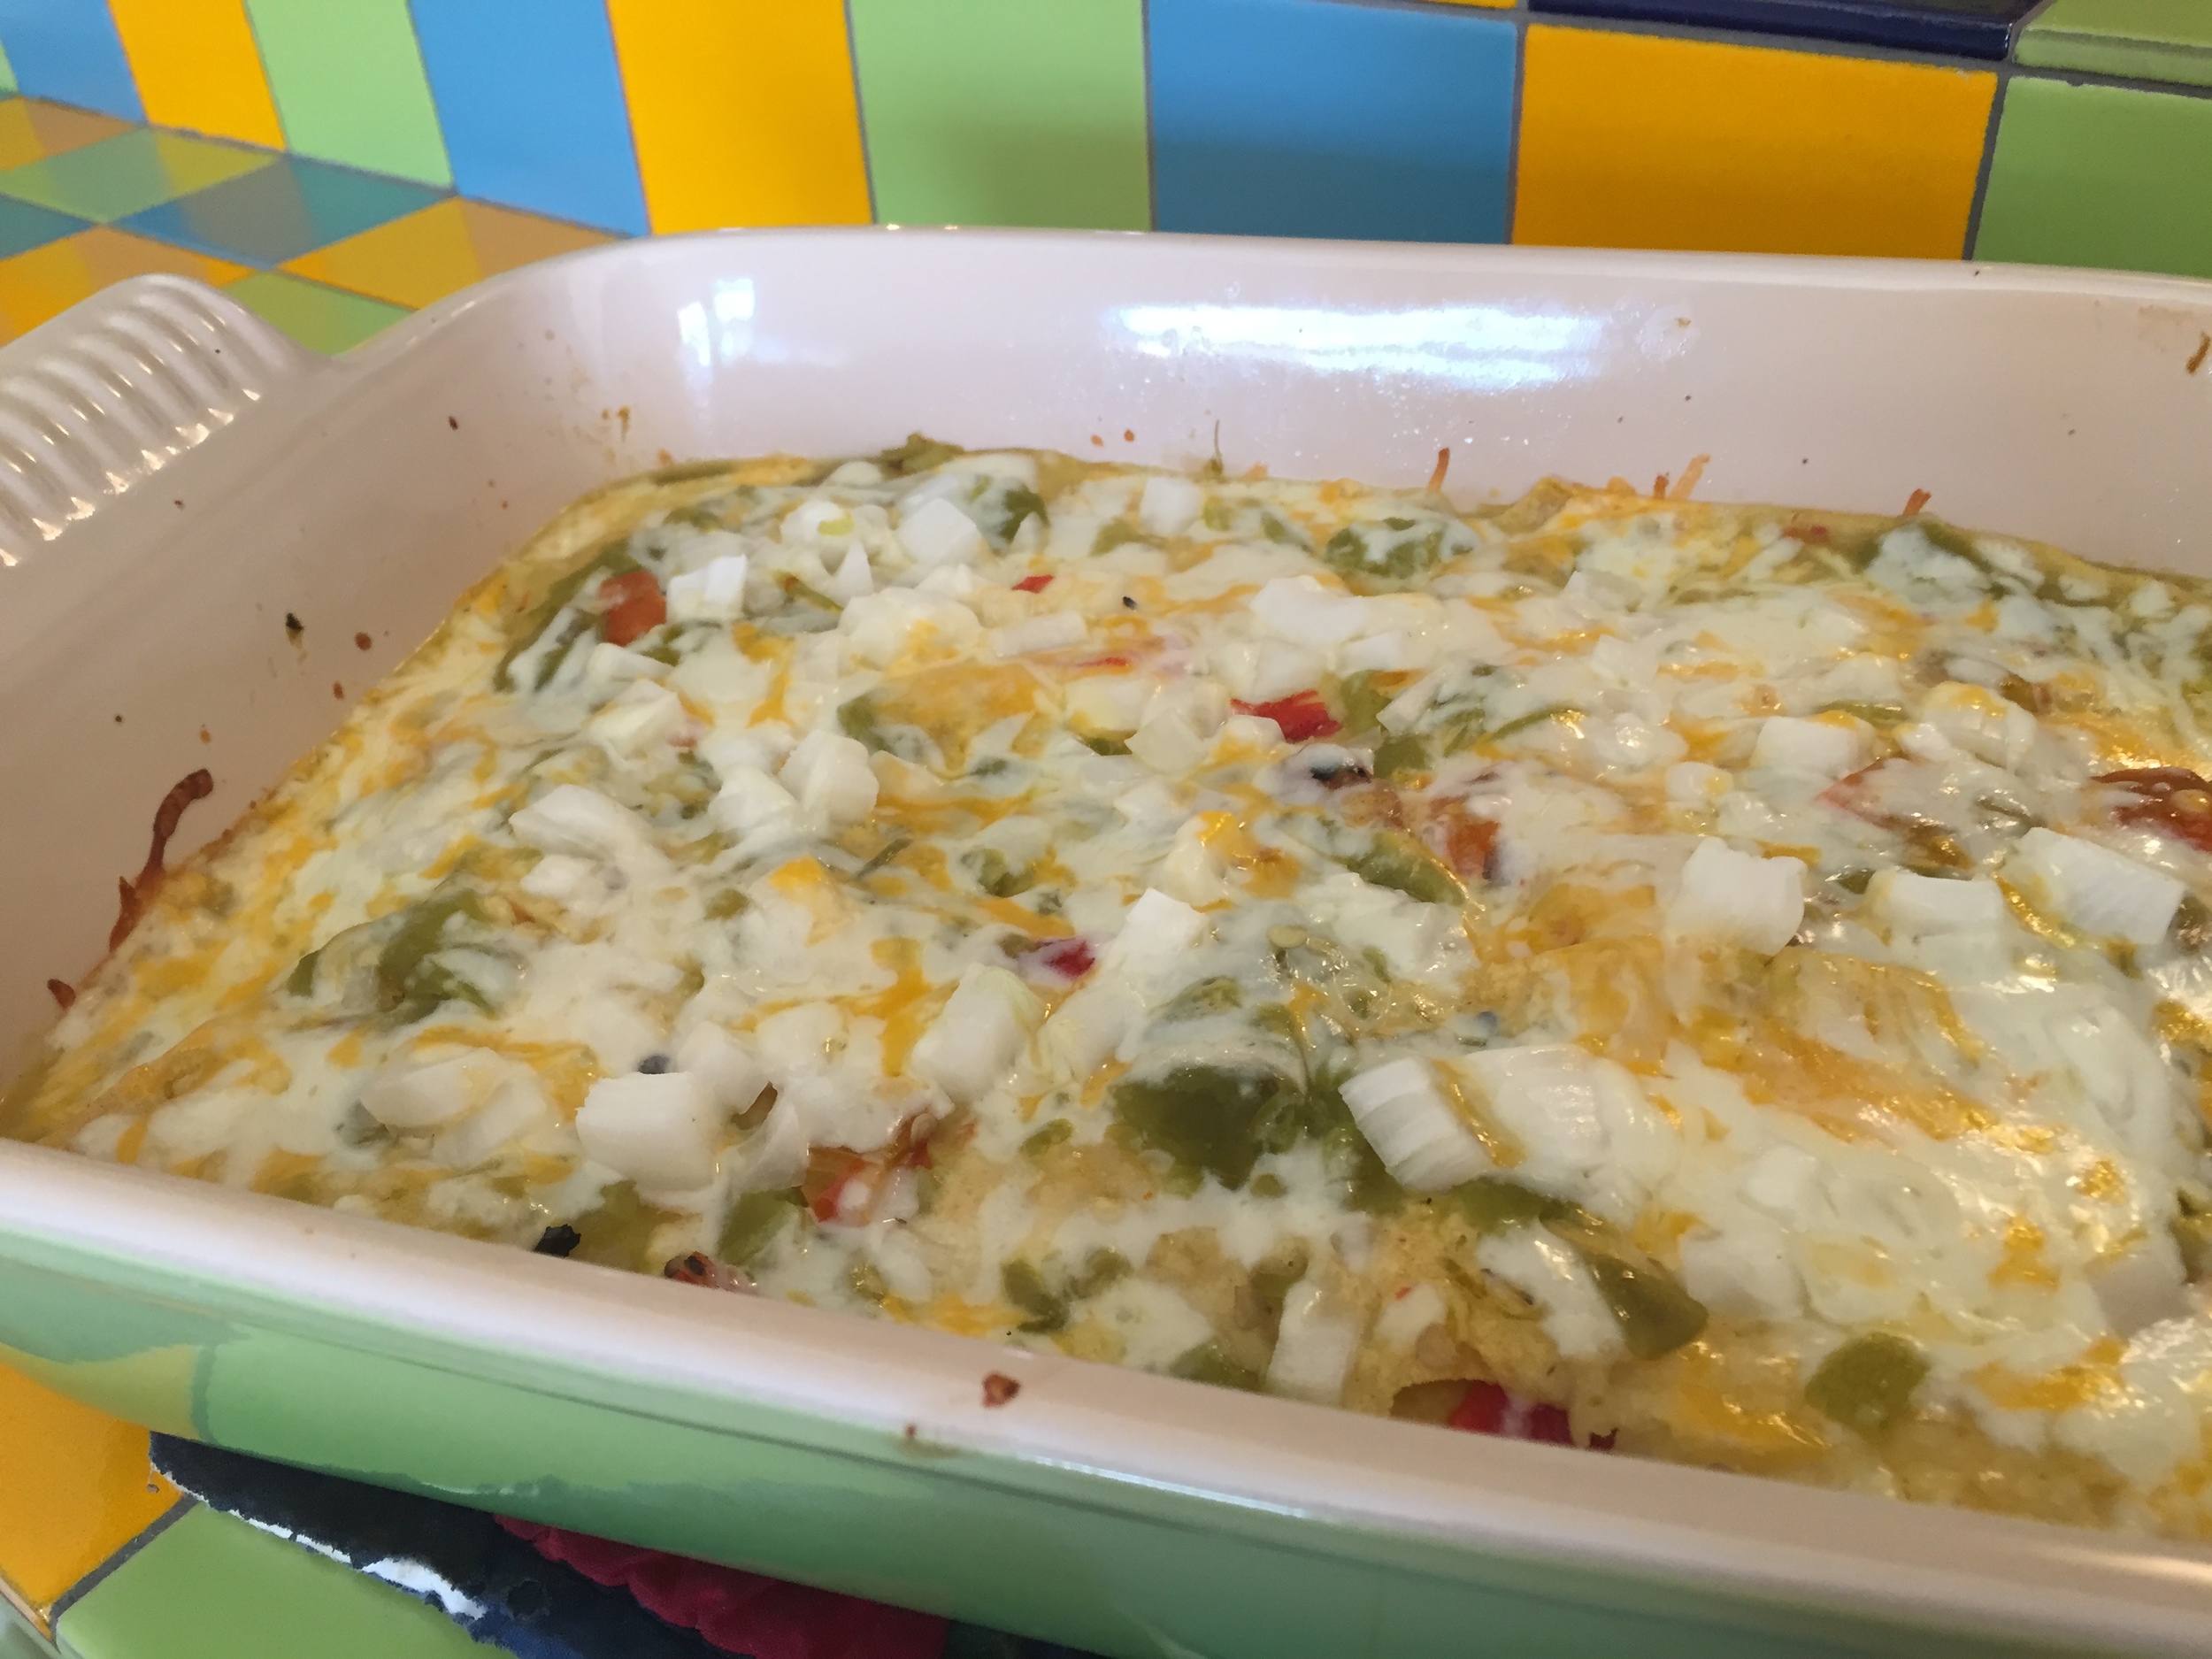
The Green Chile Enchilada Casserole

I love enchiladas, but when I'm feeding a big crowd or need something easy one night, the enchilada casserole is one of my go-to meals. It also works well frozen in smaller portions for later meals. And I have cut down on the fat by not frying the tortillas and by using a lower fat cheese.
The recipe:
Green chile sauce (see the recipe I made several weeks ago)
12 corn tortillas (I used 9 the last time I made the casserole)
1 onion chopped into small pieces
1 pound of cheese (I've been using mozzarella because it has lower, fat but you also can use anything that melts well– my favorite is colby longhorn)
tomato and lettuce for garnish
I tend to like my enchiladas piled higher so I'll use a 9 x 13 pyrex (although in the photo I used the new Le Creuset dish we received as a wedding gift and holds heat very well), however, you can use any size.
Spray the bottom lightly with oil and then place a layer of corn tortillas on the bottom. They don't need to overlap much, but you might need to tear some in half to make it work.
Spoon on the green chile sauce and then sprinkle both the cheese and onion on top, making sure you have spread all three items evenly.
Repeat. I usually have two to three layers, but the key is to stop when you have run out of one of the ingredients.
Bake at 350 for about 30 minutes. You are looking to make sure it's heated through and the cheese is melted. Garnish with lettuce and tomato, if desired. Serves 6-8.
A warm green chile salsa

There are many ways to make salsas and sauces, green chile style. And if you're not an adventurous cook, remember that you can't go wrong. Well, you can if you add too many jalapeños! After all, you don't want it so hot that you can't enjoy it.
I saw the original version of this sauce on an episode of "Throwdown with Bobby Flay" where he took on a mom and her son in Tucson. I've made the sauce several times since, realizing each time it does come out a bit differently based on the taste and heat of the vegetables.
I freeze this sauce in smaller portions and take it out periodically to use on top of eggs, as an enchilada sauce, in a cup of beans, or yesterday- drizzled on top of a pork spinach loaf. It gave the loaf an extra zing. Finally, this batch I made on Sunday used leftover tomatoes from the garden and jalapeños. We all know how sometimes we end up with a too many garden pickings and this is a good way to enjoy them.
Tomatoes (three or four large, more if smaller)
3 jalapeños (again, depending on size– I used quite a few in the batch in the photo)
4 garlic cloves peeled
4 fresh green chilies (not roasted)
vegetable oil
1 onion, chopped into small pieces
4 more garlic cloves, peeled and chopped
Salt, as needed
Place the tomatoes, jalapeños, first round of garlic cloves, and green chilies a large dutch oven filled with water. Bring the pot to a boil and let it simmer, covered, for an hour.
Using a heat resistant blender jar (like a Ninja which is more accommodating to hot ingredients), puree the entire contents from the pot. You may need to do this two separate times to include it all. Use a heat resistant bowl to hold the sauce if you need to do it in two separate servings.
While the sauce is in the blender, sauté the onion and garlic in the same dutch oven. When the onions glisten, add the puree back to the pot and bring to a boil. Add salt as needed and let it simmer for about 30 minutes.
Serve hot or cold.
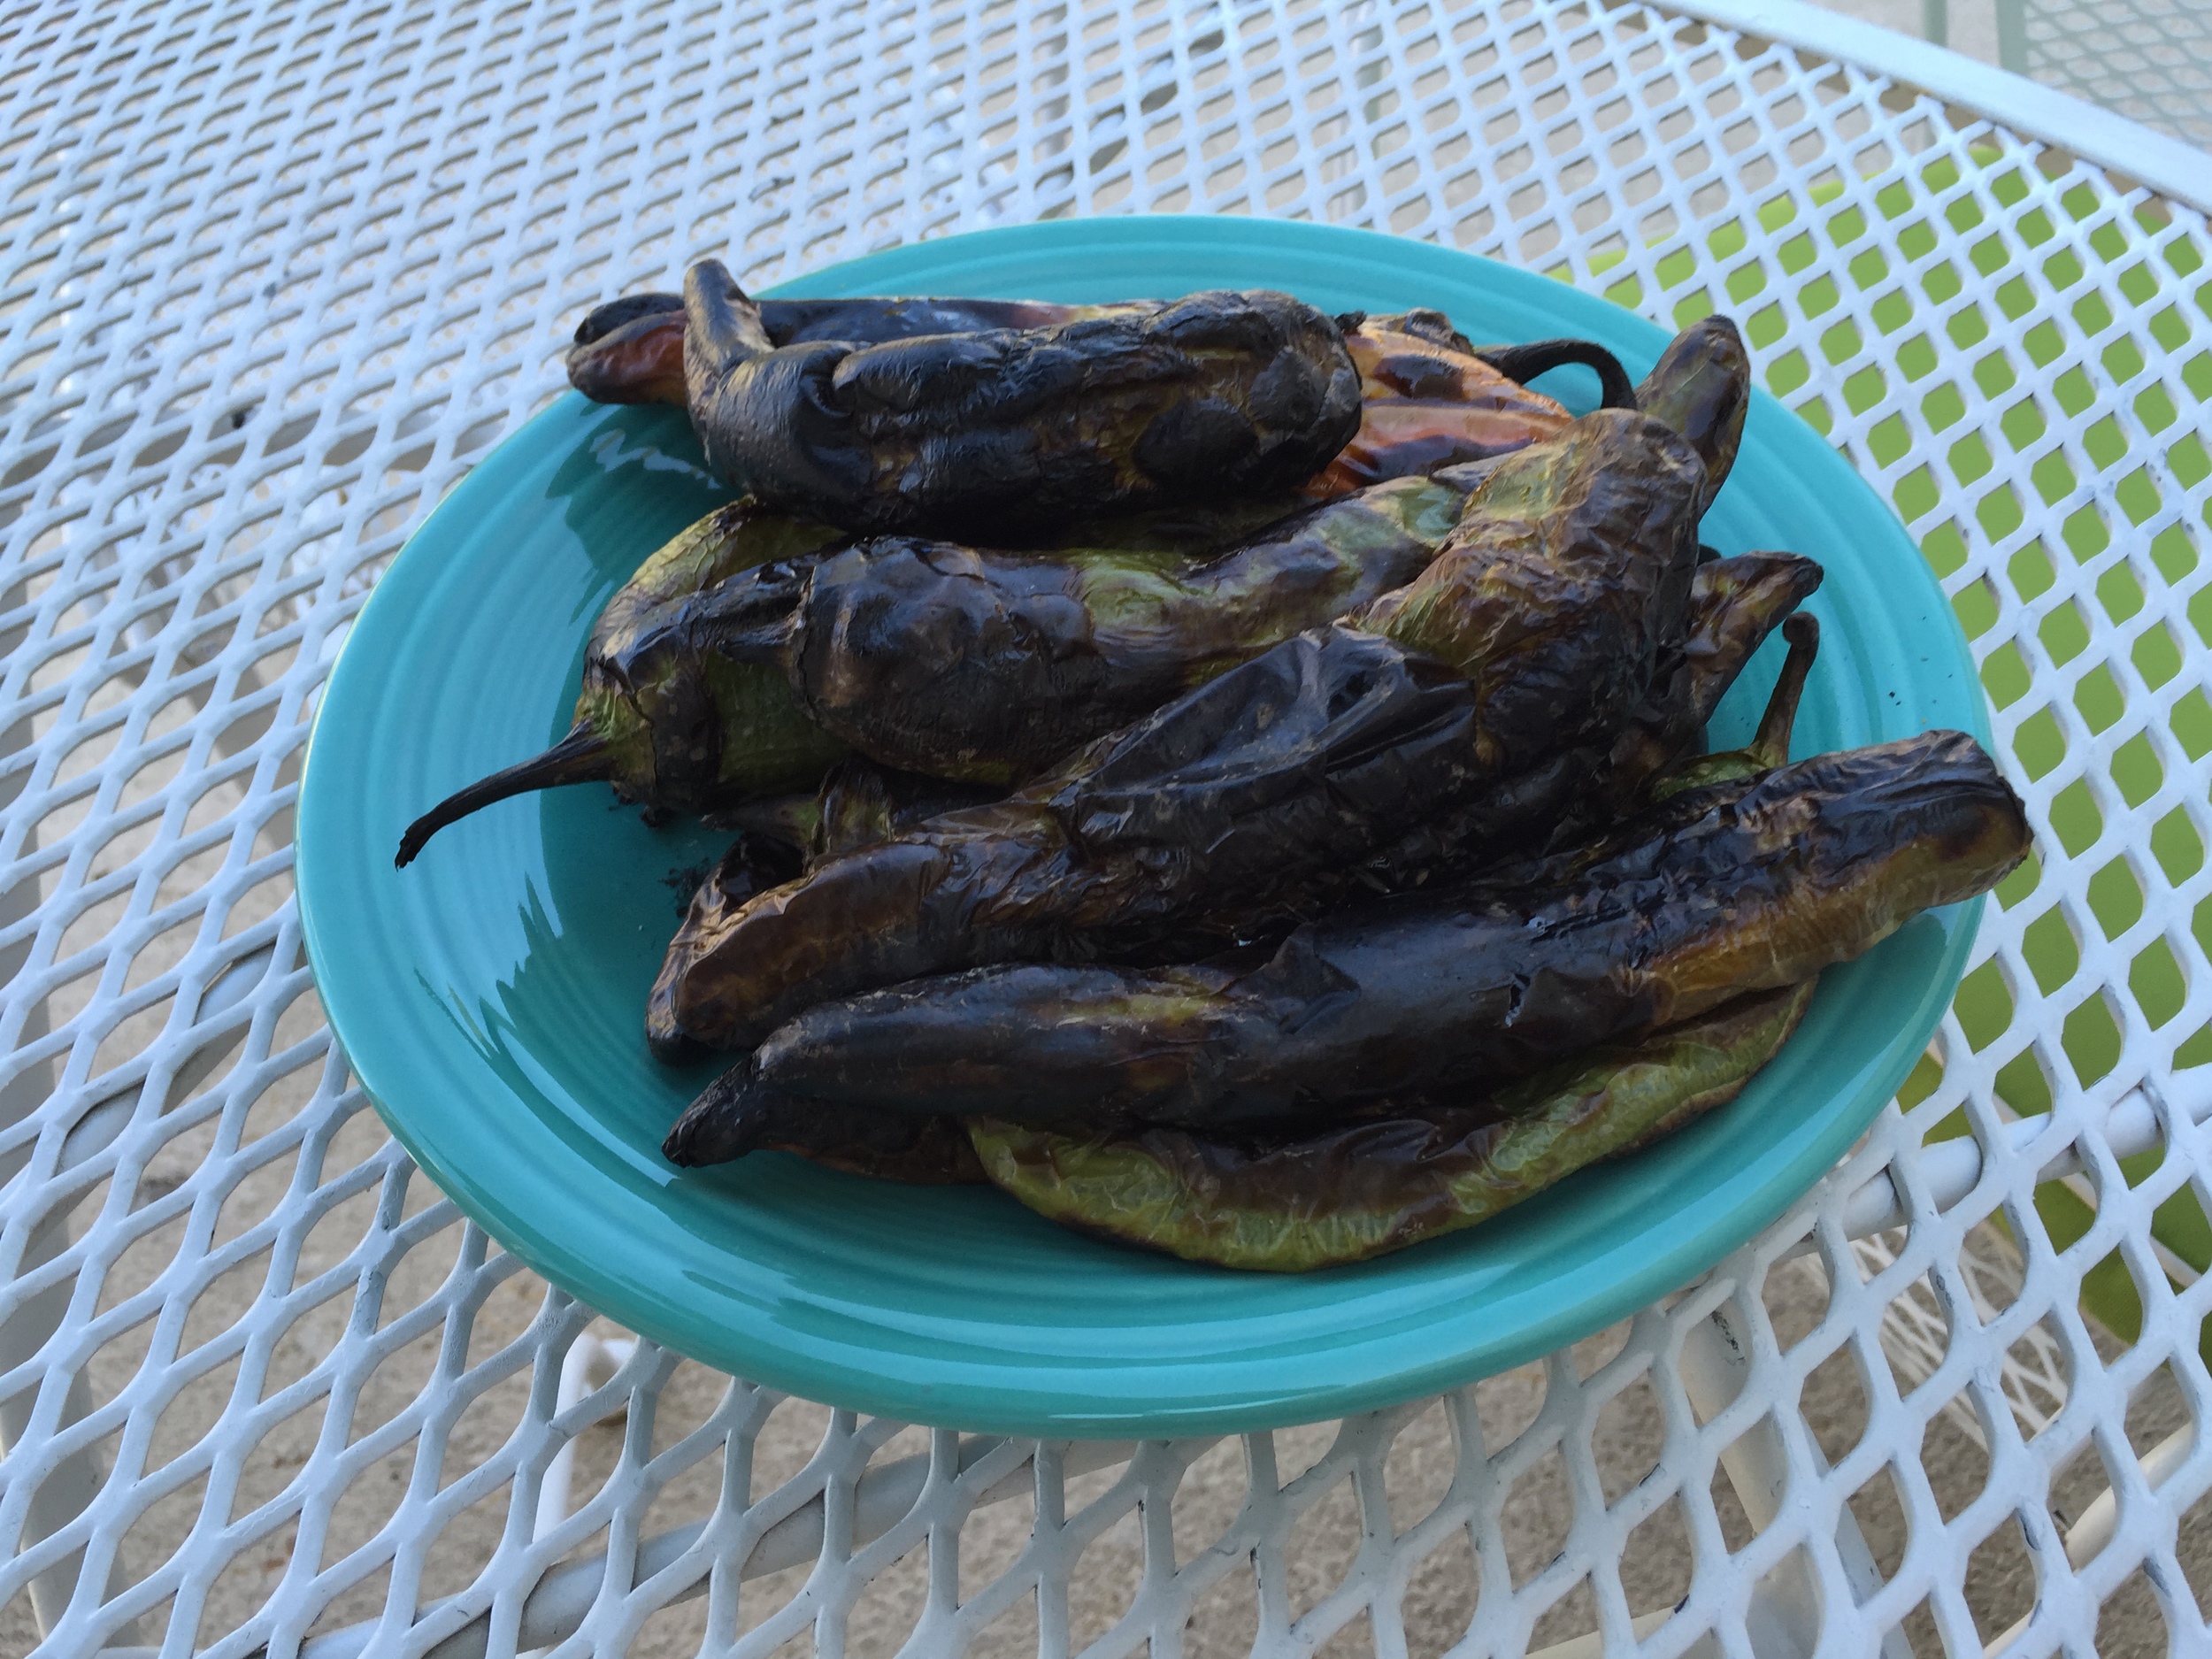
A New Mexico Tradition: Roasting Green Chile
While I am a summer person, I also love fall. And I especially love fall in New Mexico. It's about hot air balloons and the smell of green chile roasting in the air. The Hatch (a town in Southern New Mexico known for its chile) crop came in early this year which means we're enjoying it a few weeks earlier than usual but, believe me, no one is complaining.
And if you live away from New Mexico, the state has done a good job promoting green chile and it's now available (not just in a can– that should only be your very last resort because it doesn't taste the same!) in grocery stores around the country. When I moved back to Illinois a few years ago for a short period of time, I found it at Whole Foods but my guess is that it's even more widely available that it used to be.
But to use it for dishes like enchiladas (recipe coming soon), chile rellenos (see last year's directions here), or simply to top on your eggs, you need to spend a little time roasting it. The added benefit is the smell.
Roasting simply means placing the chiles on the grill and burning the skins so that they separate from the meat inside. After watching many men spend too much time flipping things on the grill, I'm more apt to walk away and let things cook without my intervention. I try to turn them only once. Remove them from the grill when the skins are mostly blackened (my photos should help you gauge that).
If you plan to use the chiles right away, you can place them in a towel to continue to separate the skin before running them under water to rub off the skin and the seeds. Then chop them into pieces and add to your dish.
Or if you want to freeze them and save them for later (which is what we do here because we have easy access to the chiles), place them in serving size plastic bags and freeze until you need them. You'll run them under water to remove the skin and seeds then.
As we go through a fall of green chile recipes up next week: breakfast burritos.

Cooking with Greg
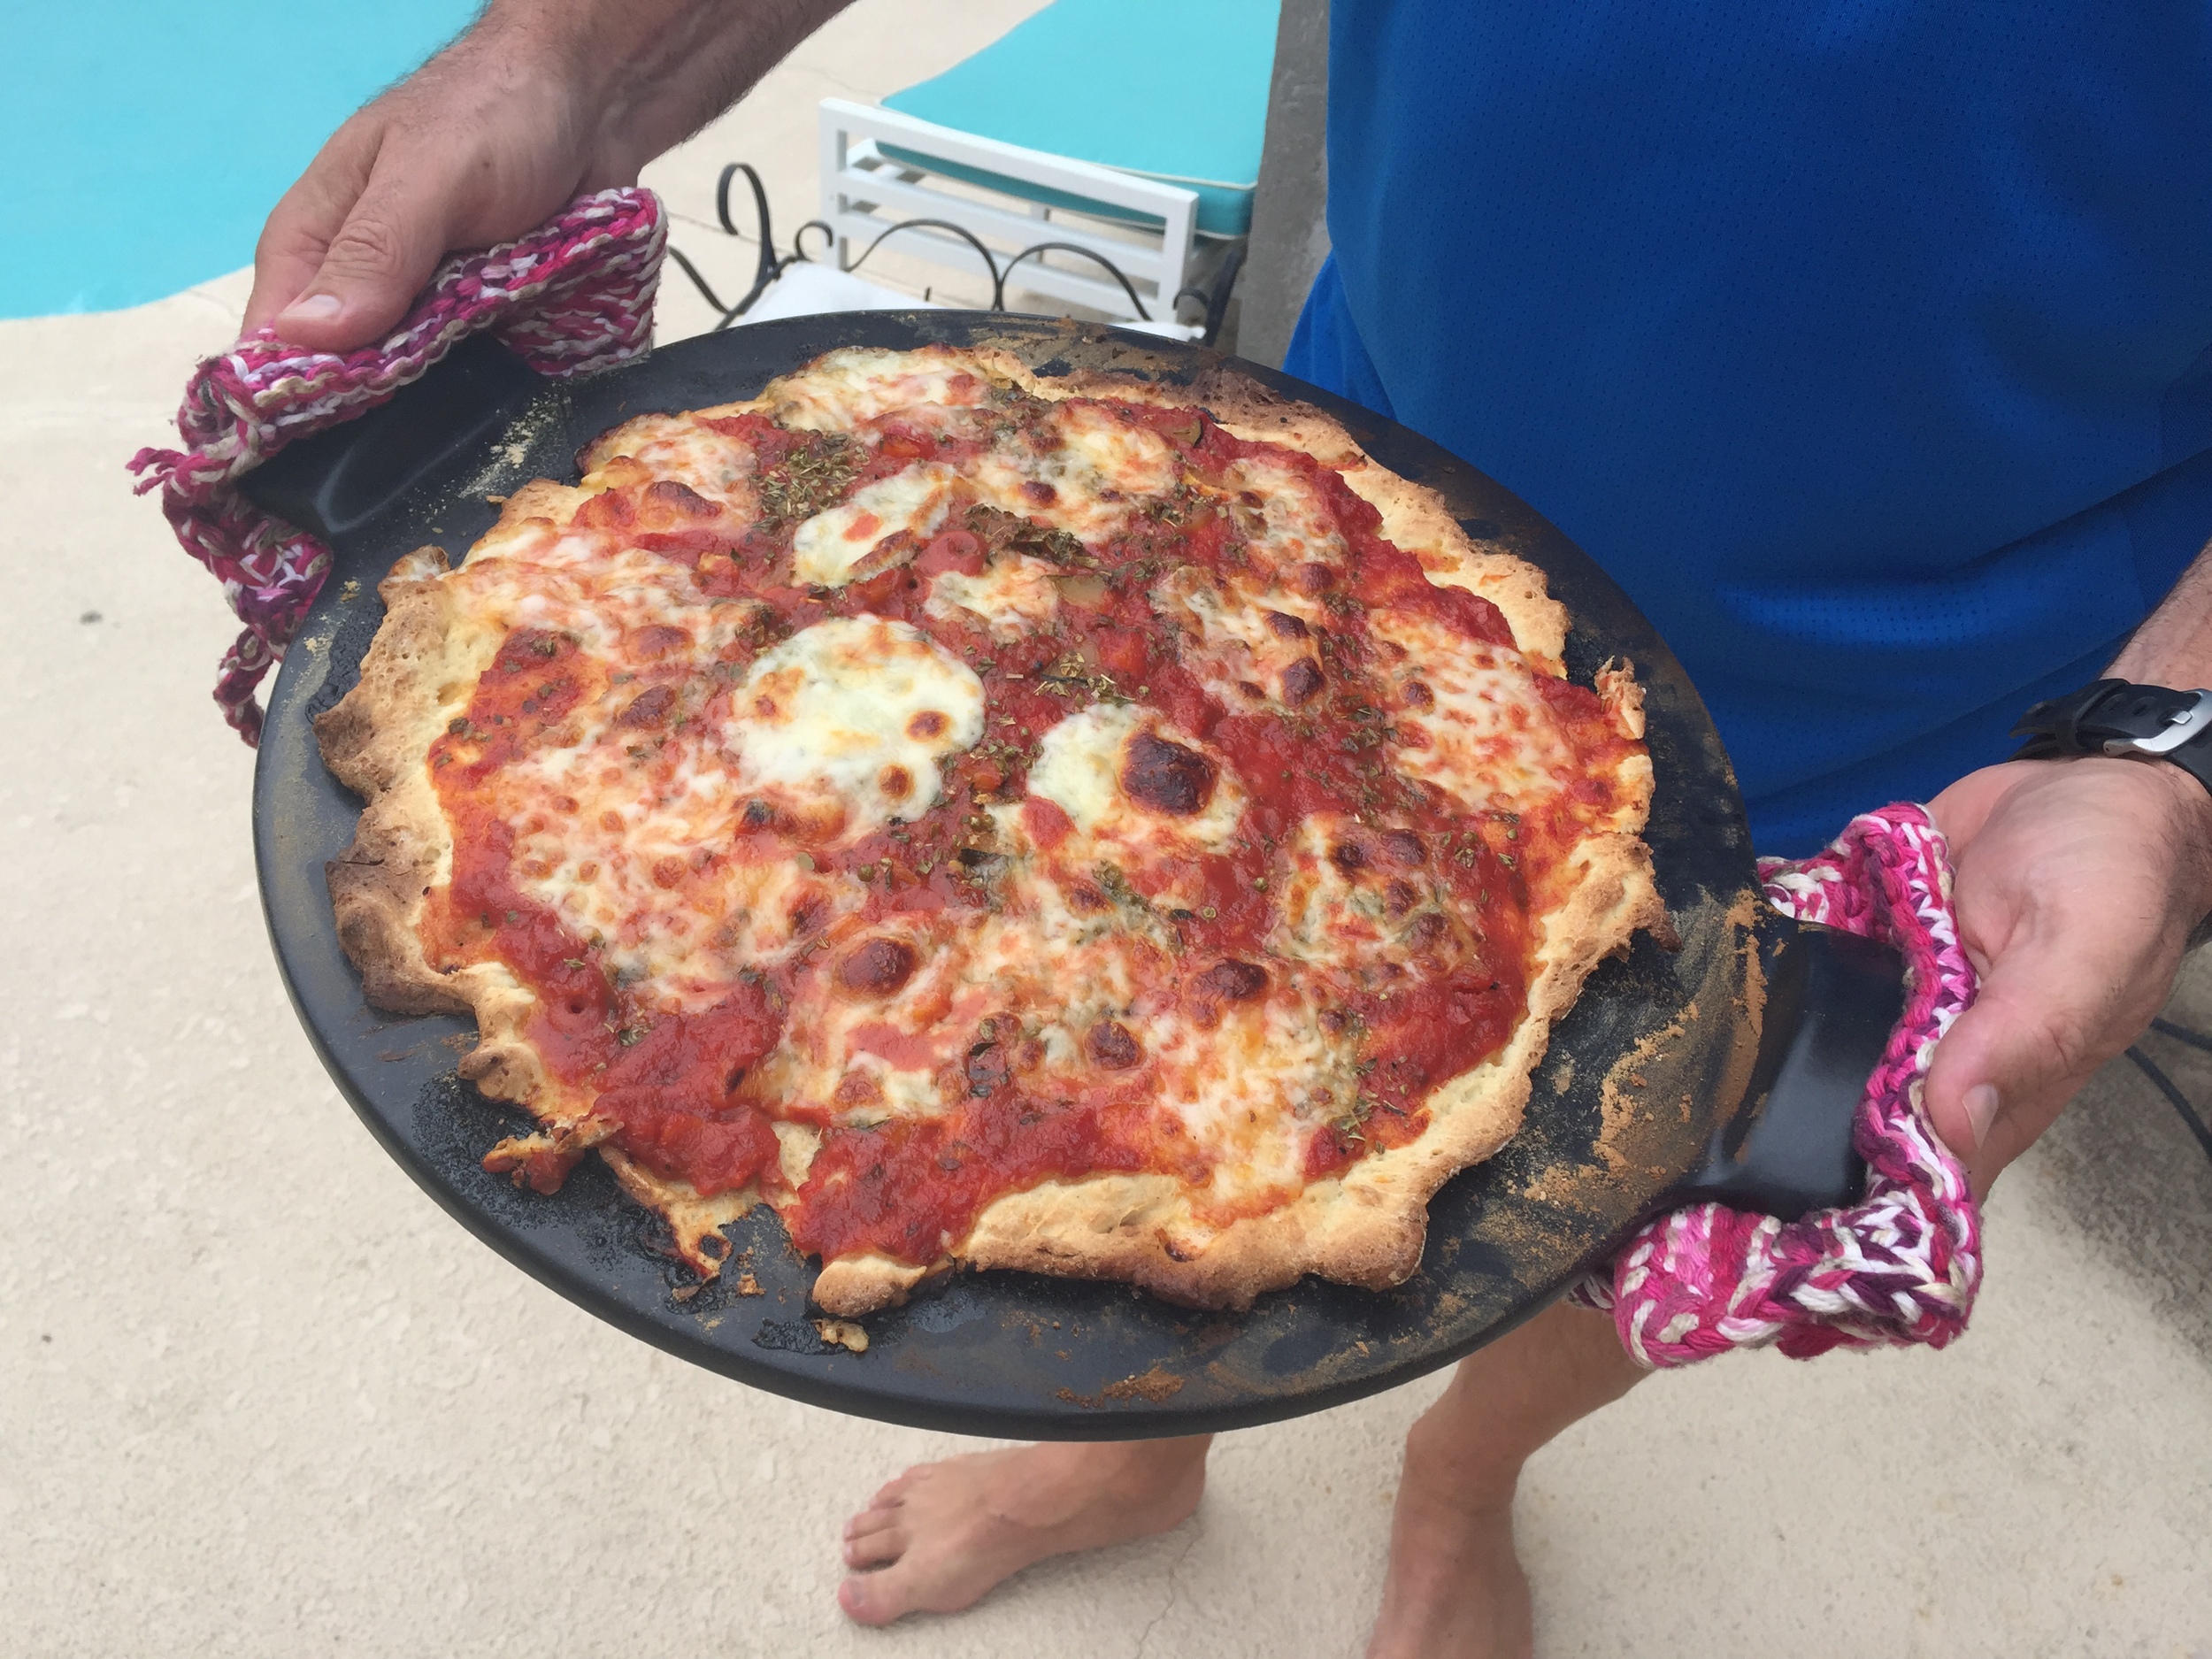
Last night Greg and I made pizza on the grill for the first time. Using our new pizza stone.
I usually bake my pizza on a paper bag in the oven (probably not a good idea on the grill) but I'm always open to new ways of cooking and I had added this particular stone to our wedding registry because it's supposed to cook well on the grill.
But because I didn't want to go to the store, I also stayed with ingredients we had: a gluten-free pizza crust that we had tried before (not because we're gluten-free eaters but I had wanted to see how good it tasted), a pasta sauce Greg had made last week with zucchini and squash in it (not my favorite vegetables but, again, it as about using up what we had), and fresh mozzarella cheese that we've been keeping on hand for our extensive supply of ripe tomatoes. I added oregano because I don't know a pizza that tastes good without it thanks to my mom.
This wasn't something I did by myself. Greg took care of the grill while I prepped the pizza. And then he pulled off the pizza when it was ready.
It wasn't until later that I realized how much of a joint effort it had been to make the pizza. Making meals in our house is typical done by both of us, each having skills to contribute but also both of us wanting to learn and eat new things.
Next on the list is making chilaquiles, essentially eggs, red chile, and corn tortillas. We're having the neighbors over for dinner in two weeks and we thought we'd make them once before since neither of us has done it before.
On Friday I happened to find a covered raised silver serving tray with a glass pyrex dish inside it at an estate sale.
"I thought we could use it when we have people over," I told Greg as he raised the lid to look instead.
"For when we make casseroles," he added, approvingly.
Yesterday after we were discussing when we would make the test round of chilaquiles he said, "I guess I need to polish the silver then."
Like I said, it's all a joint effort. And totally worth it that way.
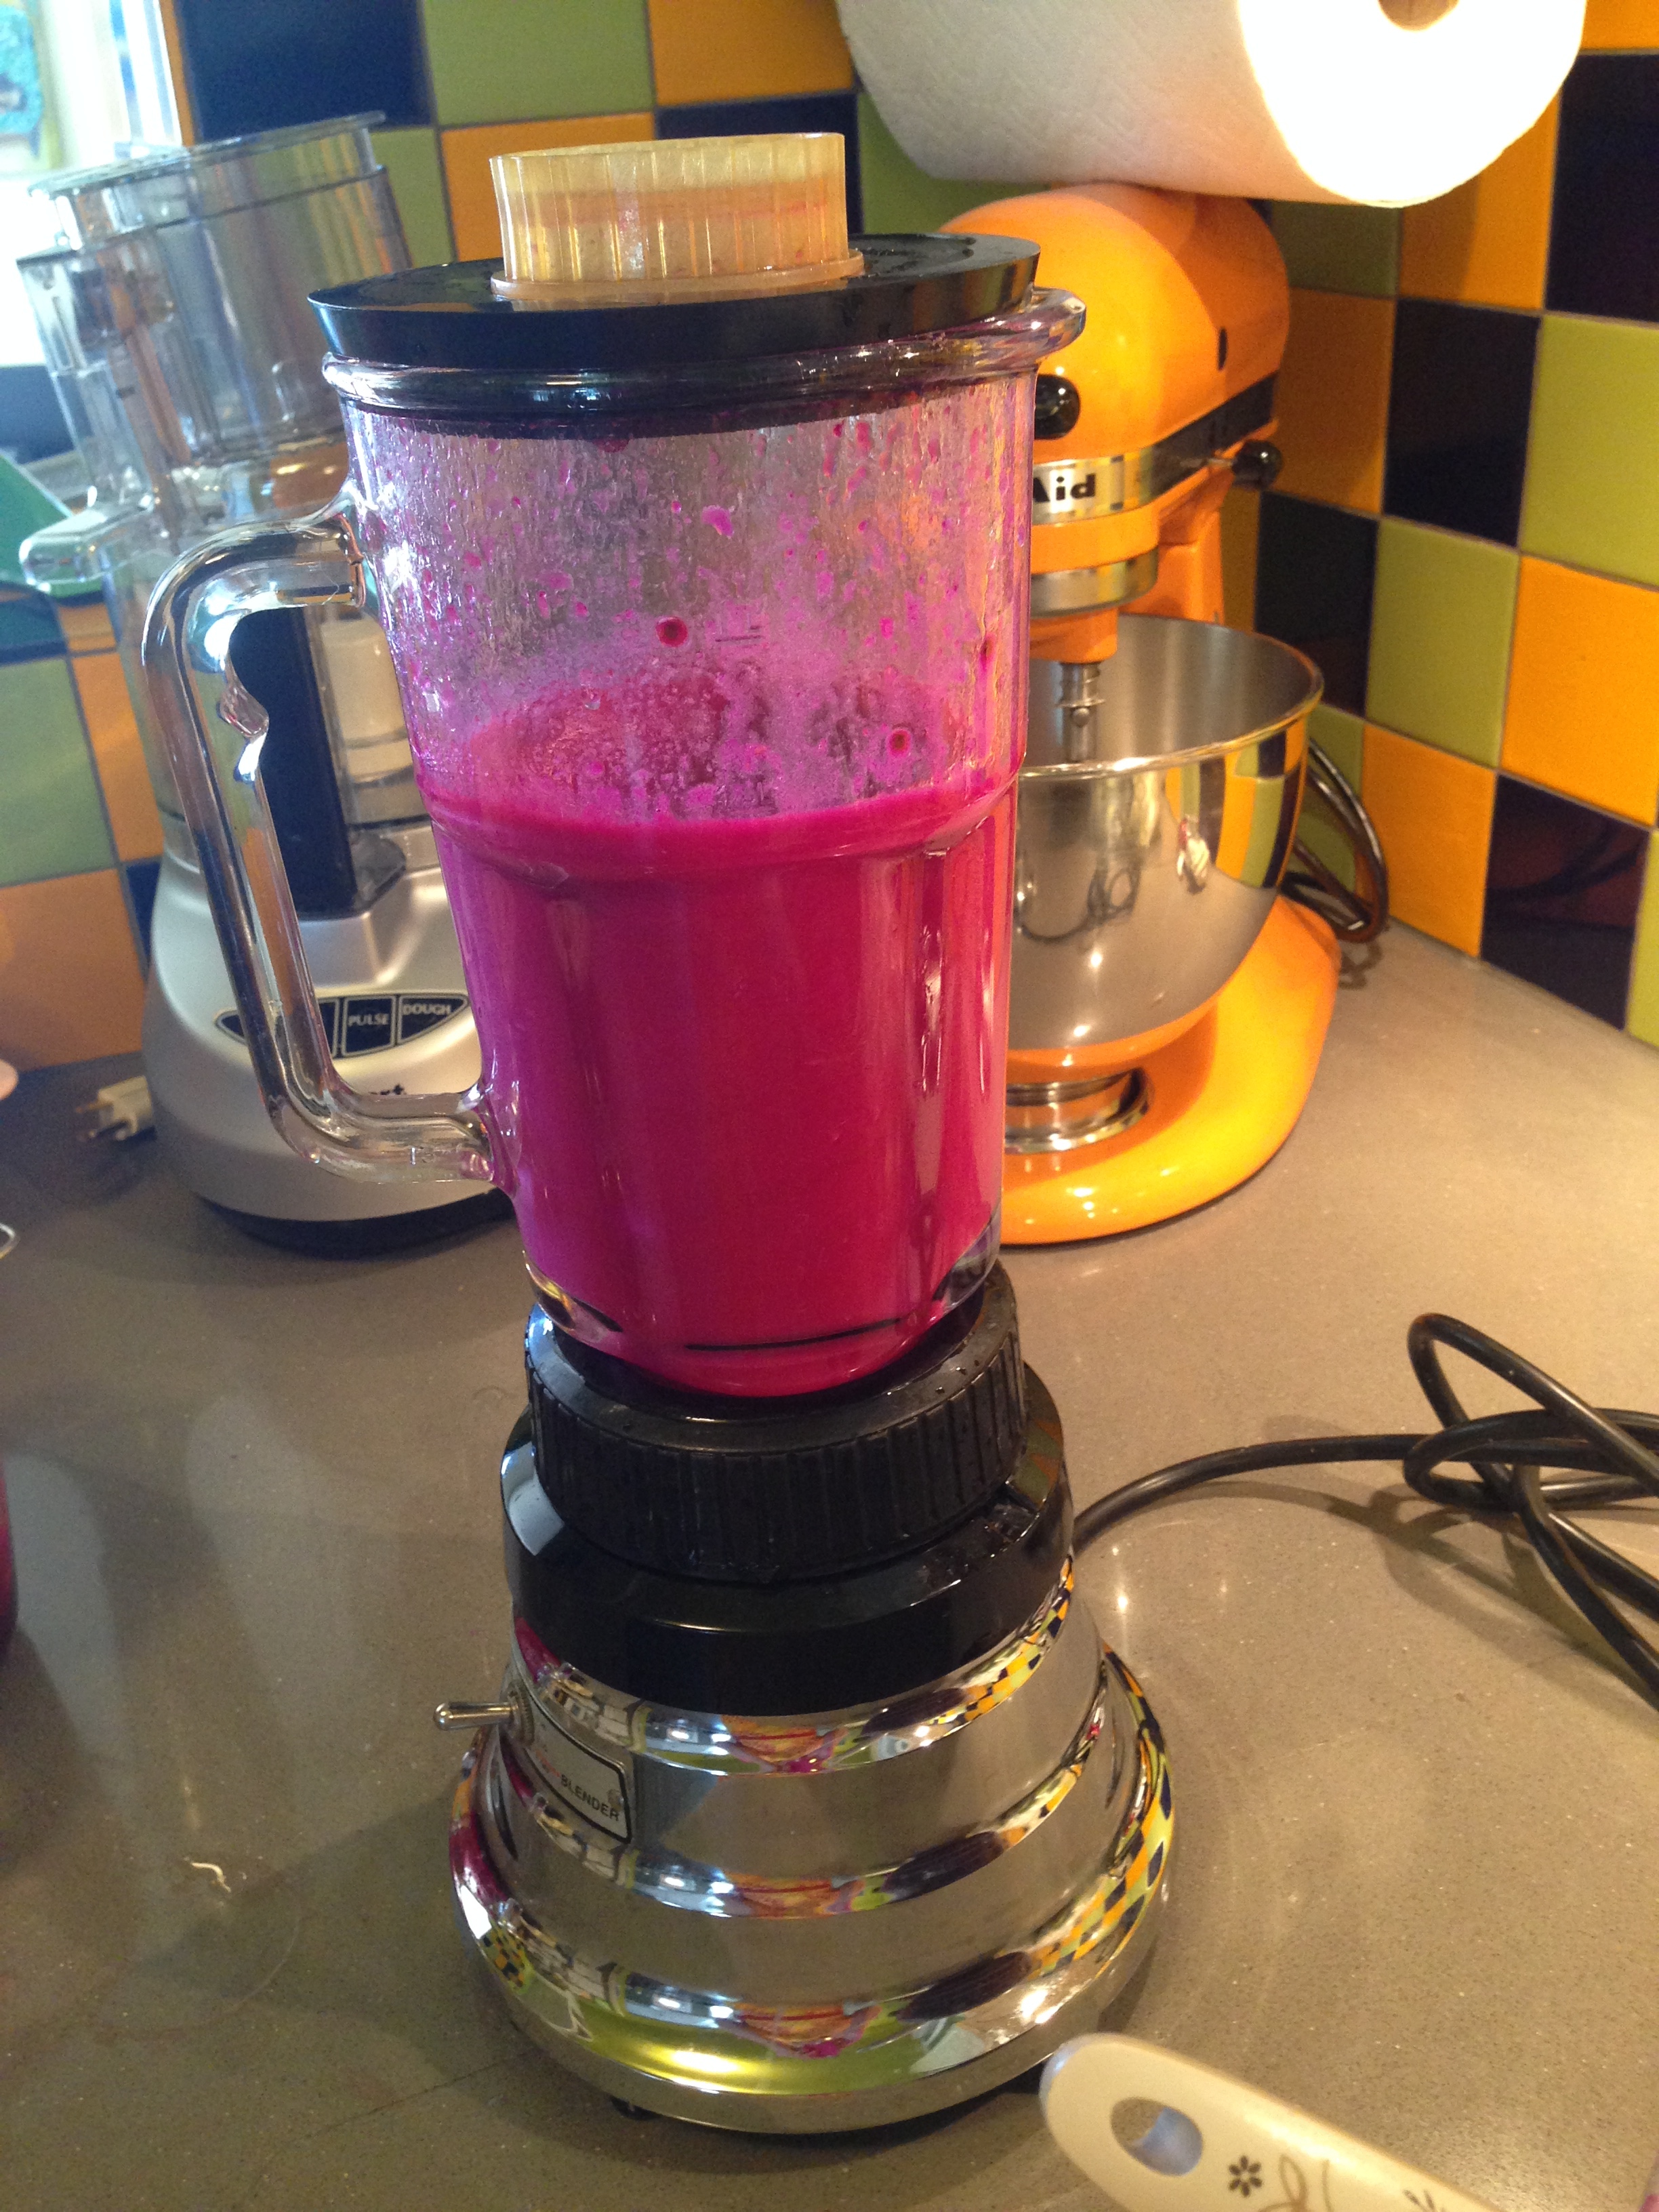
The Prickly Pear Recipes

After a month hiatus to get married, I am back blogging here, now as Michelle L. Rusk. Over the next few weeks I'll be posting the various prickly pear recipes I've been using. But first, the question that everyone asks: how do you turn prickly pear cactus fruits into something tasty?
The photo above was taken last fall (you can tell by the sunlight that it's fall rather than summer) after we had finished picking the fruit off our cacti and two sets of neighbors' cacti (yes, we had permission!). We filled four big bowls with the fruit and they sat on the counter for a few weeks until I had time to work with them. I had read I needed to scoop out the fruit from the center of it and I set to work, buying multiple pairs of gloves at Lowe's only to stain them and find almost nothing kept the needles from penetrating onto my hands.
After I ordered The Prickly Pear Cookbook by Carolyn Niethammer, I found out I was wasting my time. I could scrape many needles off when I washed the fruit and throw them straight into the blender. After blending the fruit, running it through a strainer removed the needles and skin.
From there I froze the puree in ziploc bags.
Up next week? The syrup. And then it gets even better after that...stay tuned...
The Spatula
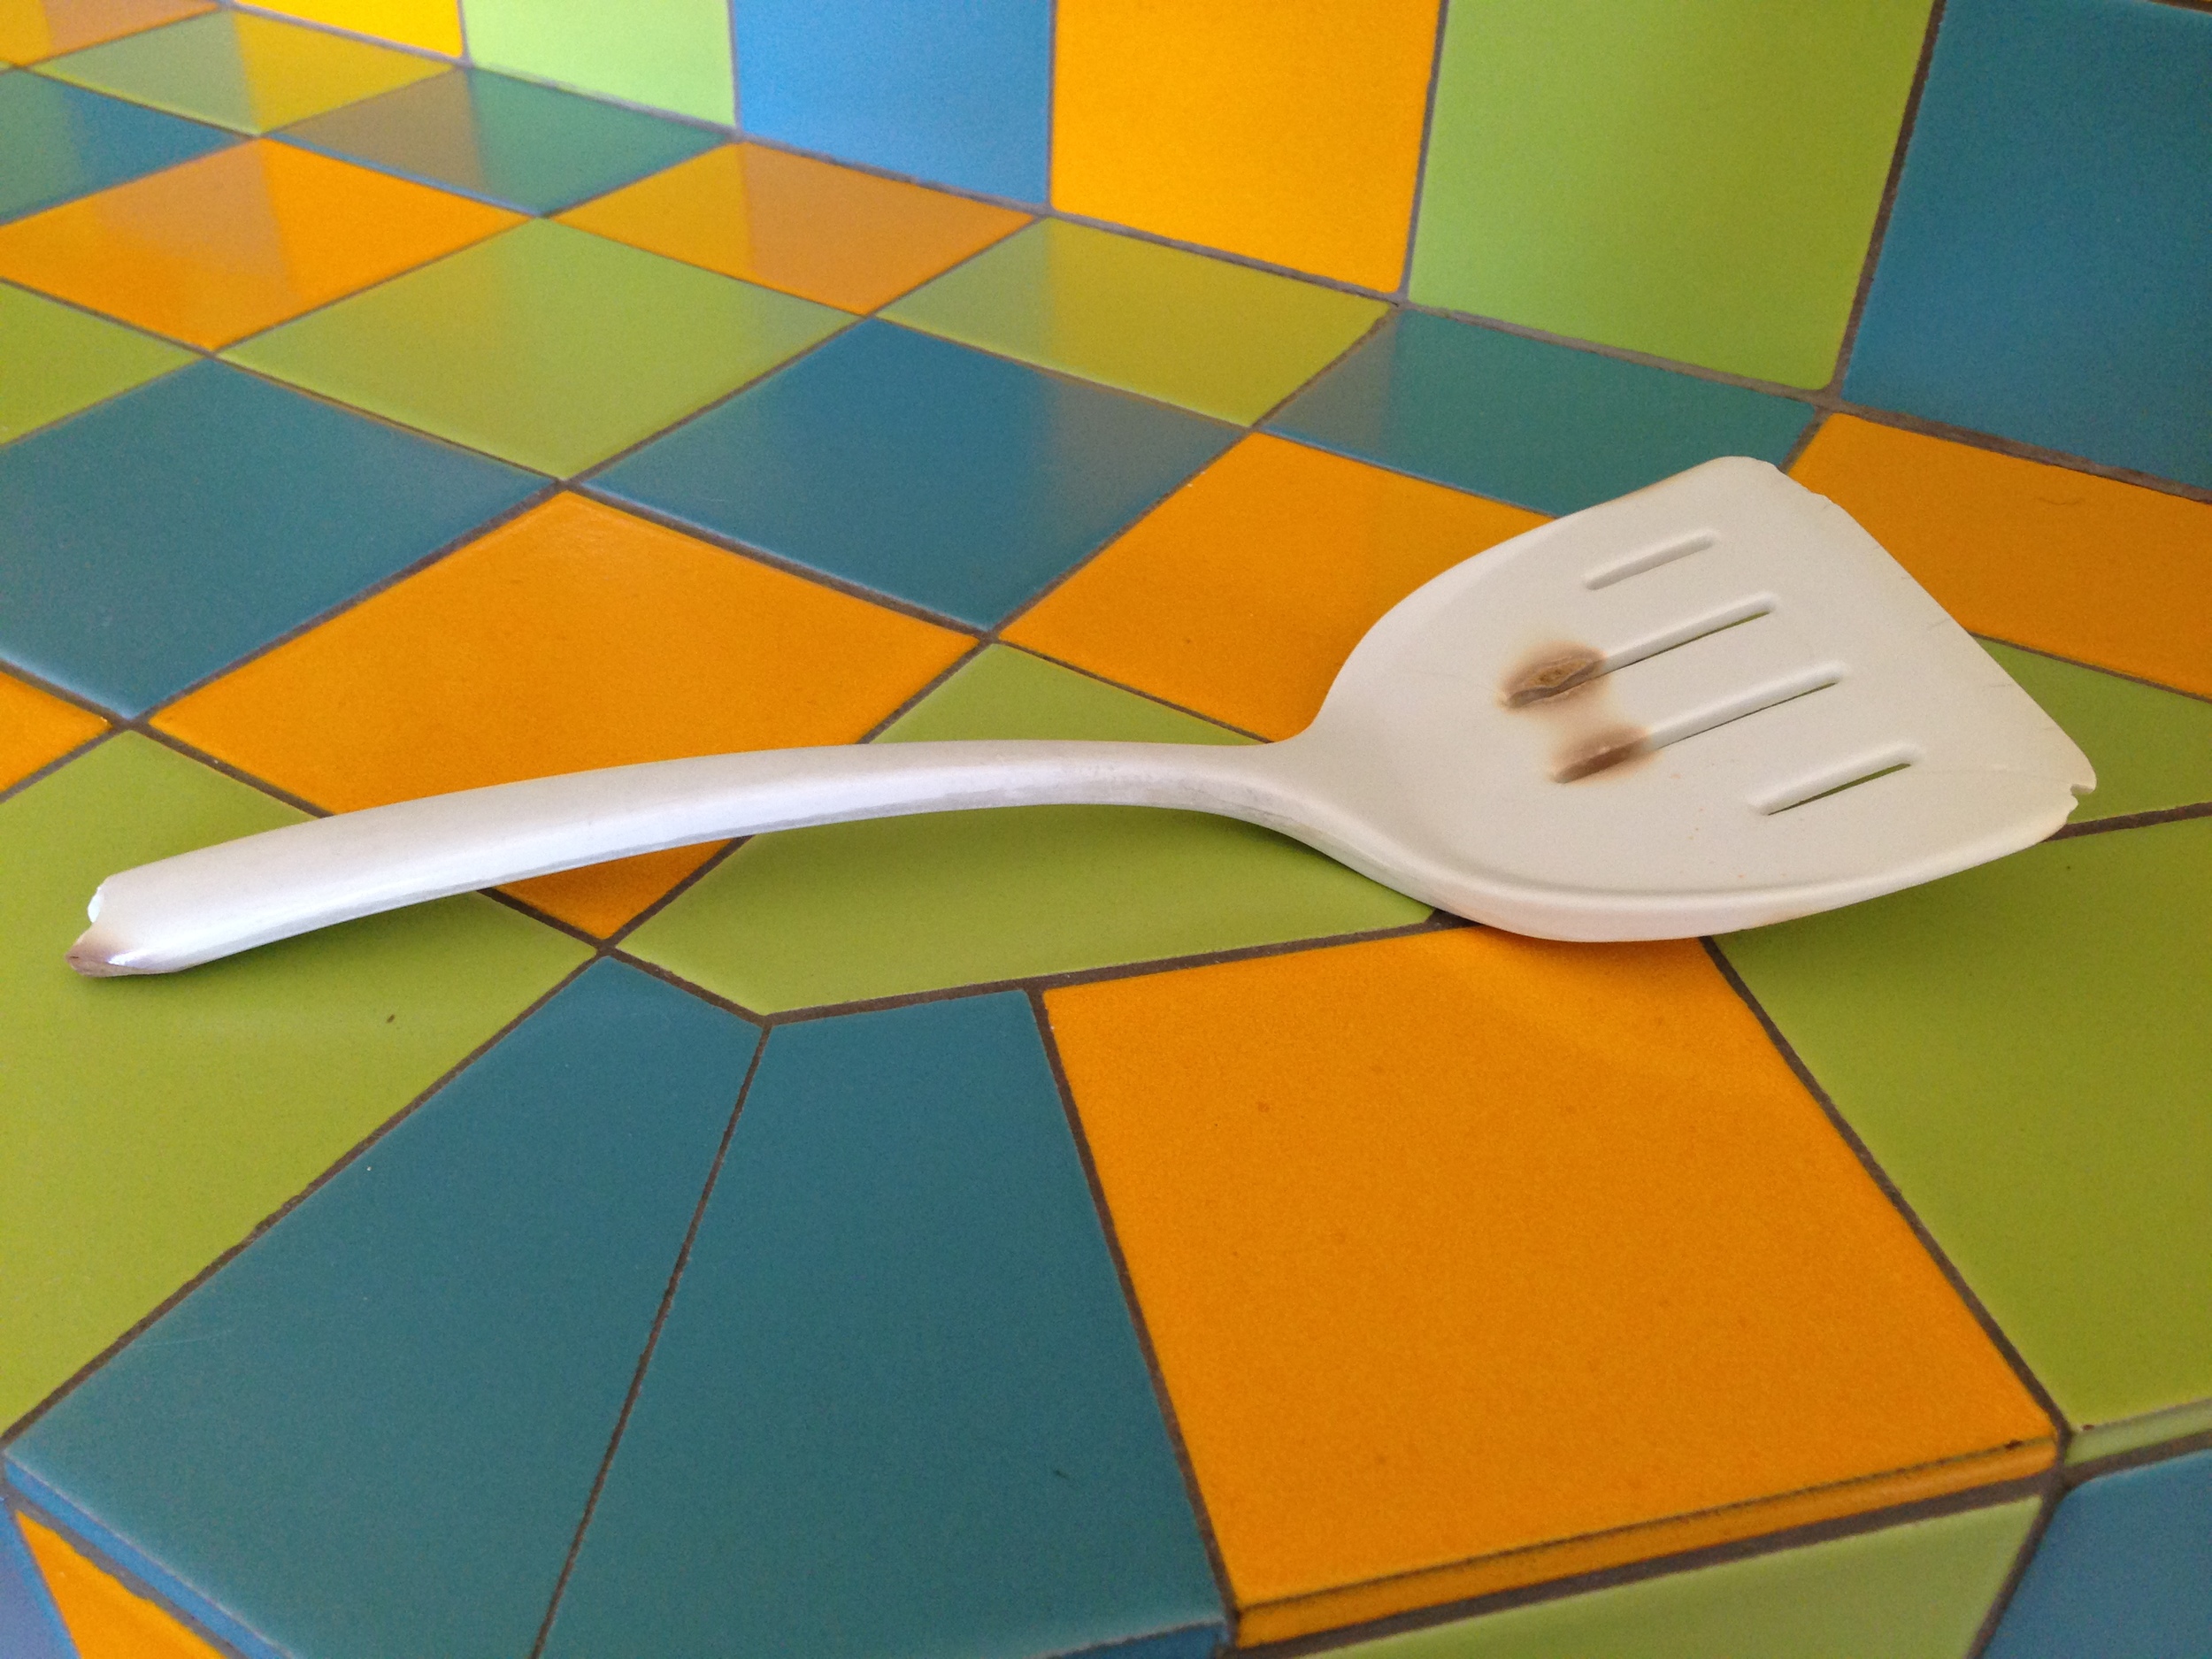
It might not look like much to you: it's just a spatula, or in my mom's simple terms (probably as we were growing up), "a turner."
It has been burned: see the corner missing. The hole to hang it burned off long ago. But I've had it since college; it's the best spatula I've ever had. And it was a gift from my dad.
My sister Karen once joked that she guessed the kitchen knife set he once bought each of us came out of the trunk of someone's car in the grocery store parking lot. That was my dad. It was all about finding a good deal and I'm sure my spatula was no different.
He bought it for me as I moved into an apartment after living in the dorms at college for two years. And there was a non-stick frying pan that I used until the non-stick coating started to peel off.
But the spatula remains.
He never told us he loved us, that wasn't him. But this was something he could, provide us with what we needed. What he didn't know, and what I didn't expect, is that this spatula really is the best one I've ever had and it's the one I reach for every time I'm cooking.
Thanks, Dad.
Letting Others Cook for Us
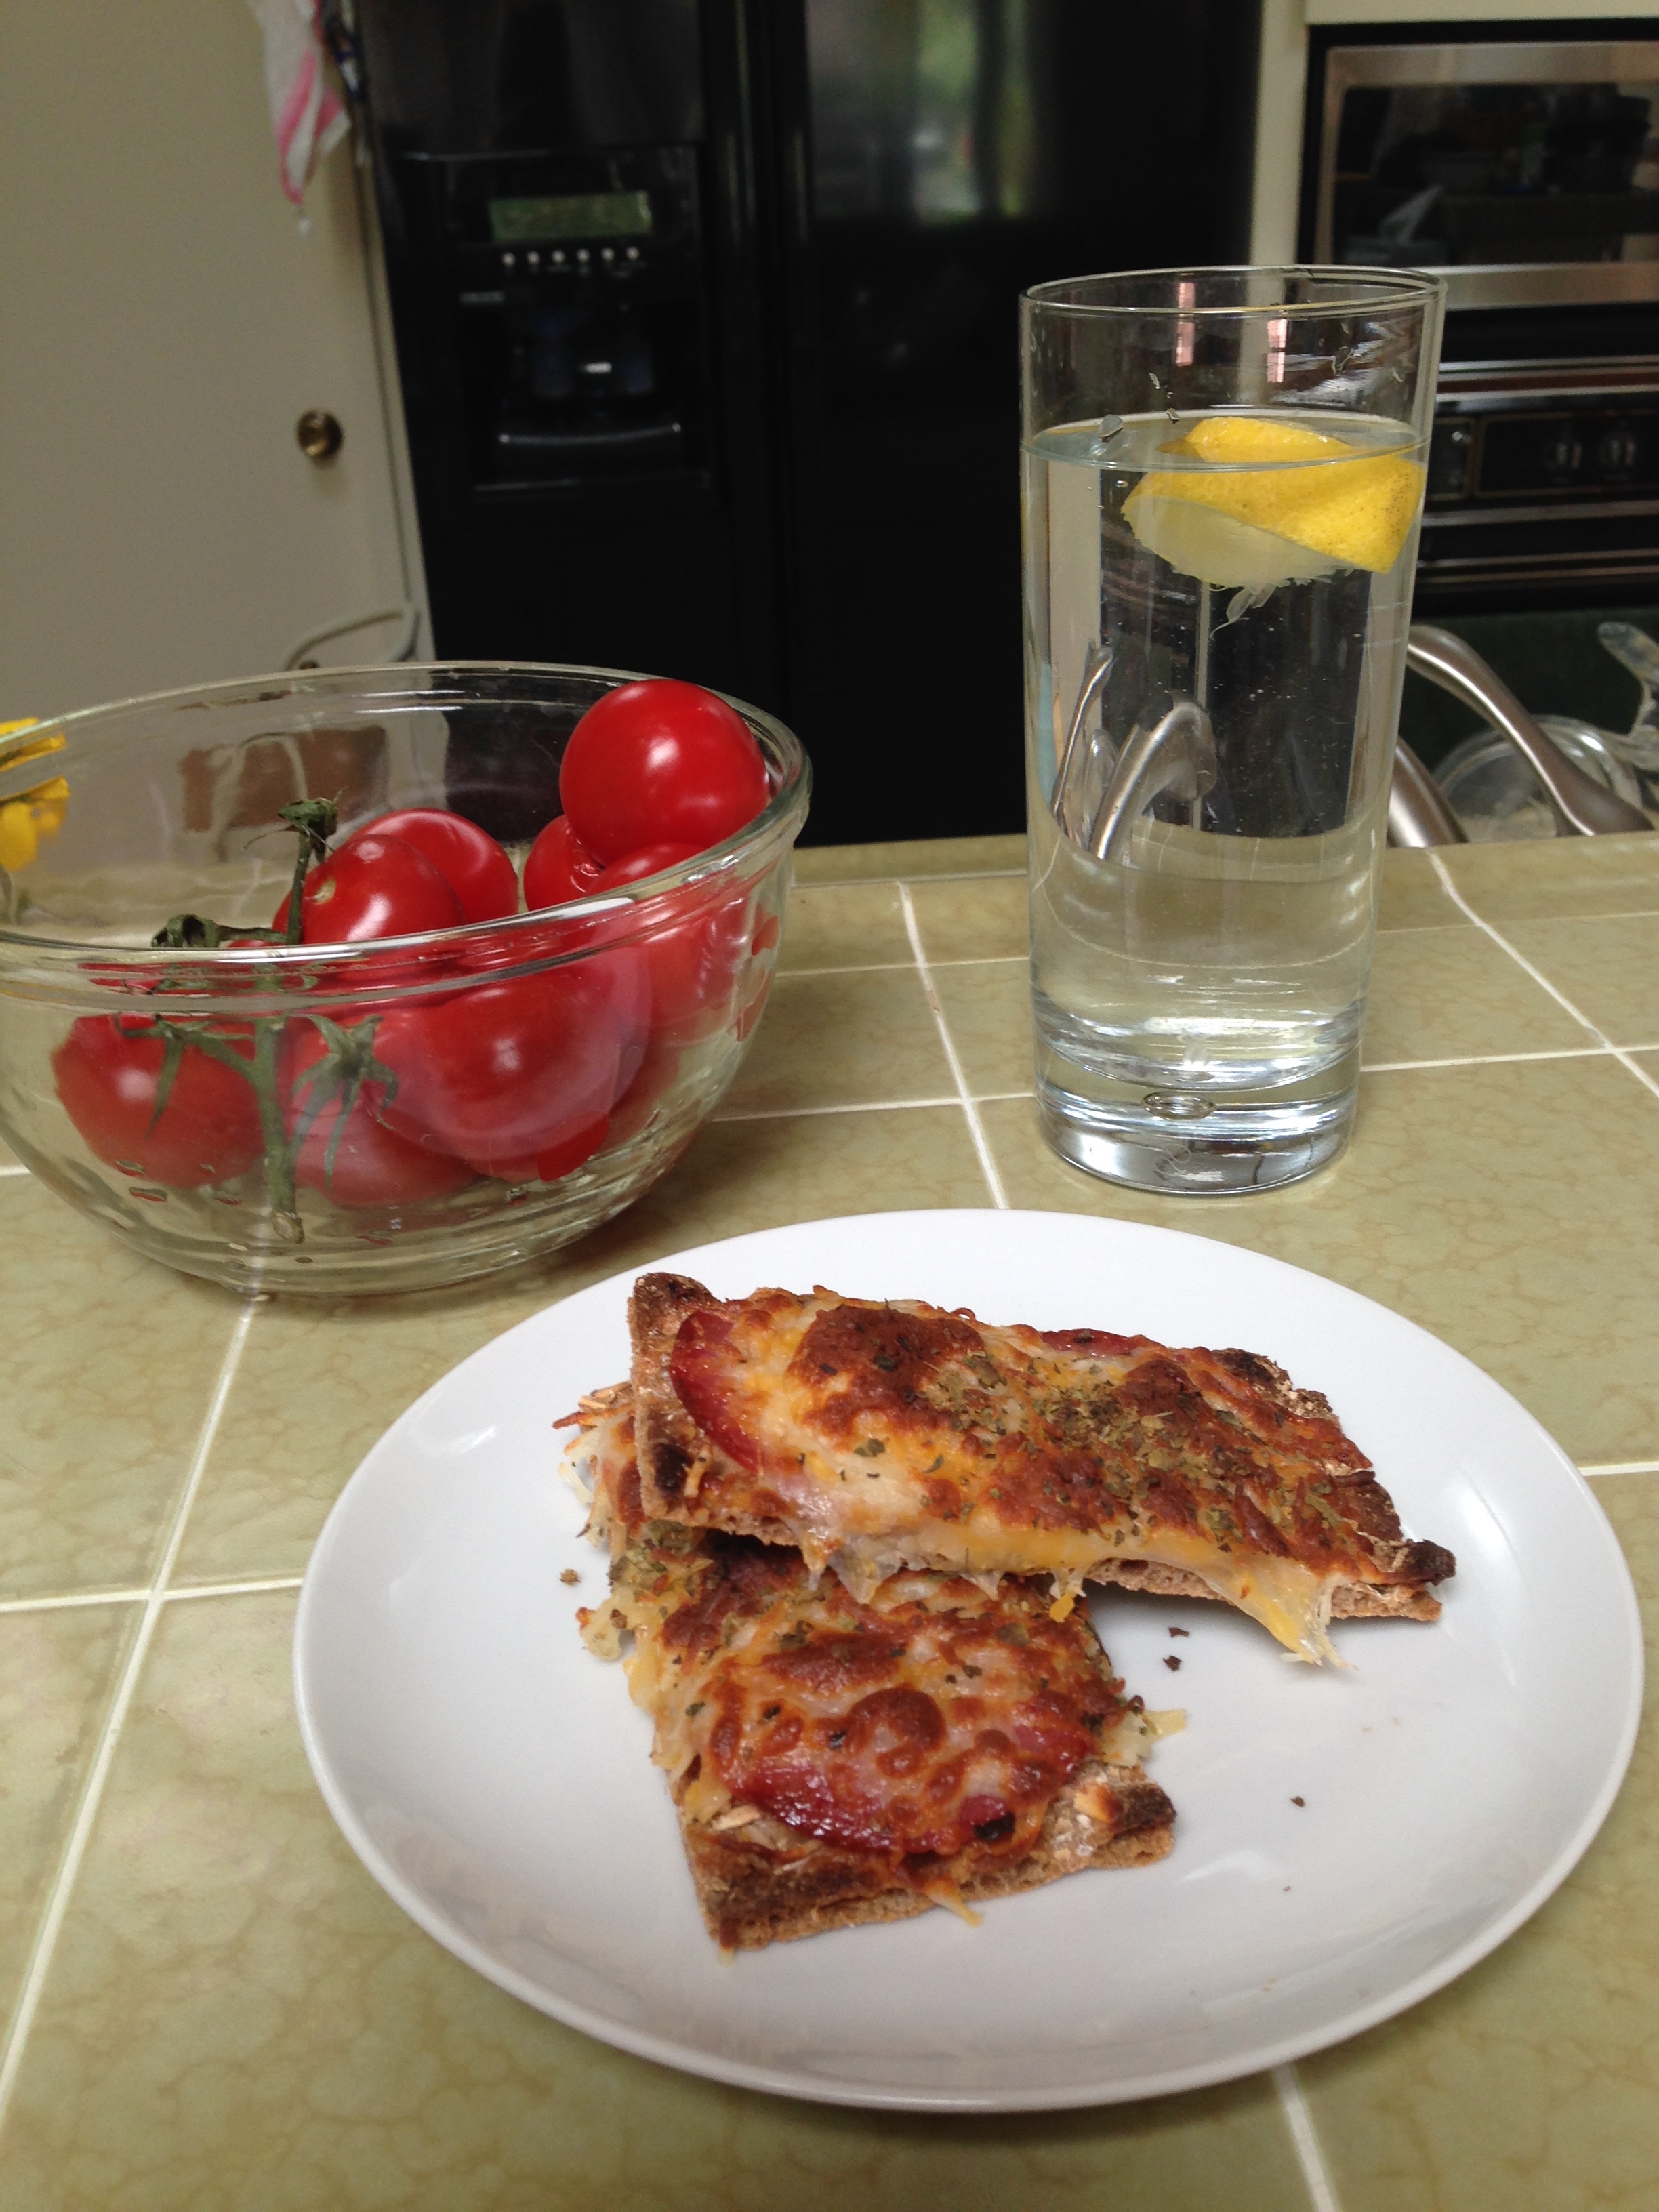
This might not be the most exciting photo ever but the meal on the plate signifies something really important to me: allowing my fiancé to cook for me.
I obviously write a lot about how I cook for others but I often forget how gratifying it is to have someone cook for me– and what it means to that person. I am the one who plans most dinners at my house but in the last year and a half since Greg and I have been together, I'm getting better about giving him opportunities to cook for me.
While he was clear with me from the beginning that he wanted to cook for me sometimes, it's become a necessity on certain days when I have had work to do and if we wait until I'm done for me to start cooking, we'll be eating really late.
We're in Southern California this week staying with friends of mine and while I was in the shower yesterday Greg made these cheese toasts for me. They are easy to make and something his dad made for him and his siblings growing up.
At our house he takes Wasa crackers (which I have liked since high school and are inexpensive) and tops them with cheese, oregano, and anything that is available (yesterday it was salami and tomato), and sticks them in the oven to melt the cheese.
They are not just an easy snack but can be an easy lunch like they were yesterday. And Greg gets to enjoy cooking for me while I get introduced to other flavors– and the happiness of getting to relax and savor what he creates for me.
Recent Posts
Michelle's other website - Chelle Summer - is filled with writings of hope and encouragement while to helping others find their way with love and compassion.